FINAL HOW TO: BACK TO SCHOOL PLACEMATS FEATURING THE JUNGLE BOOK
September 3rd, 2016 by Camelot Fabrics
I have always added a placemat in my kid’s lunch box because I know they can be messy eaters. Over the years I have noticed that it has become a trend and most schools are now asking for one. I have always used a Camelot Fabrics print that would represent my child’s favorite character and I decided to share with you the fun I had making this year’s placemat for my little monkey!
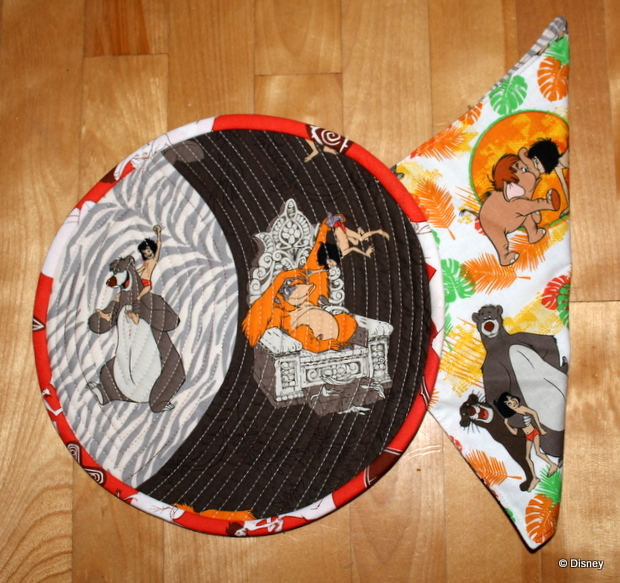
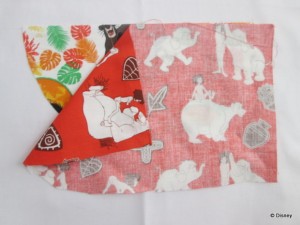
I decided to use the Venn Placemat pattern on our website and keep it as a 10” circle. That’s quite enough space for my little guy. I printed the templates while making sure that I was printing to size and traced them onto a plastic template as I wanted to fussy cut the characters. Now I had some fun choosing what I wanted to feature in that template. Make sure that you have enough fabric to be able to fussy cut. That’s what will make the placemat stunning!
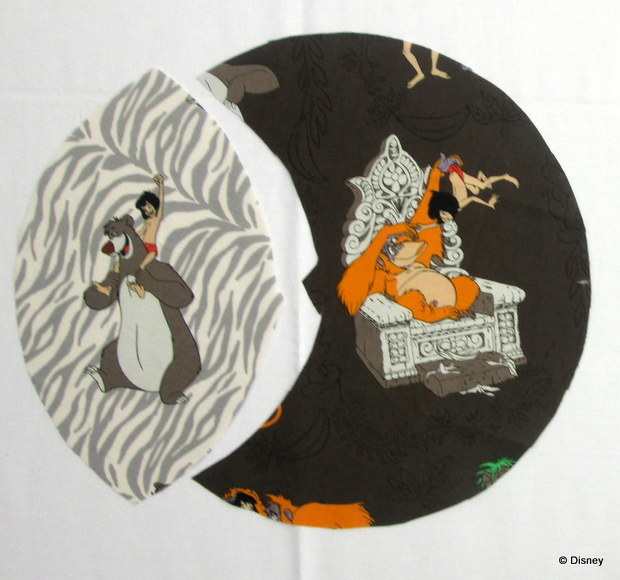
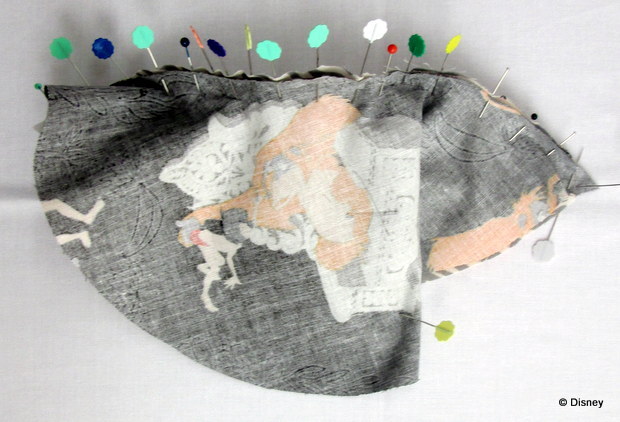
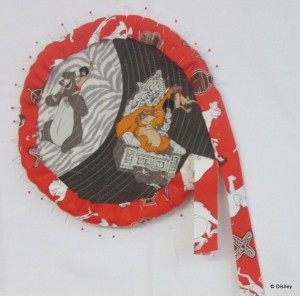
Then I pinned and sewed the inner curve of the crescent piece to the side of the other piece. I made sure that I aligned the corners and notches exactly and I used lots of pins as curves can be tricky. I tend to pin the corners and the edge first, then I find the middle between the notch and corners and add pins. I find the middles again and add another pin, and so on until there are lots of pins and the fabric just can’t move.
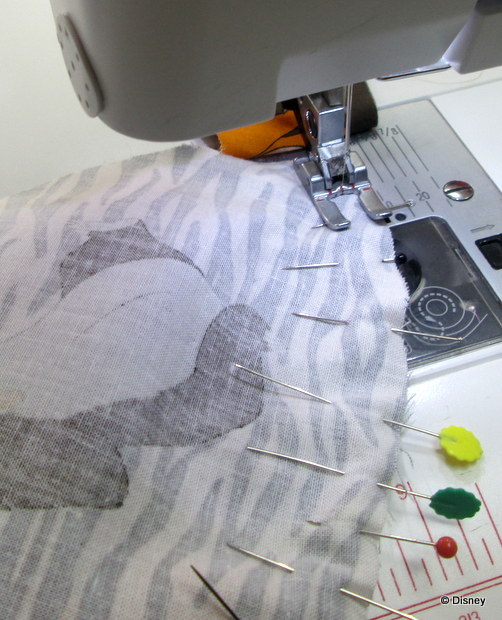
Now to the sewing machine: The trick is to go slowly and maintain an even seam allowance. You can stitch from one corner to the other but if you are having problems keeping the fabrics aligned then I suggest starting at the notch and working your way to each corner. Which means that your excess fabric will move to the corners and if you feel that the placemat is still OK (meaning that it doesn’t look biased) you can simply cut the excess fabric off (although there shouldn’t be any.)
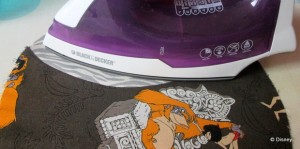
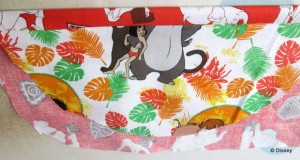
Press the seam toward the crescent piece and the top is done!
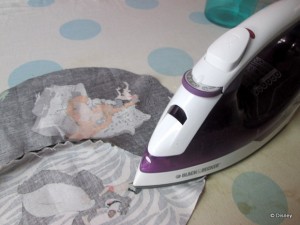
Cut the batting and backing to the same size. Don’t forget to fussy cut!
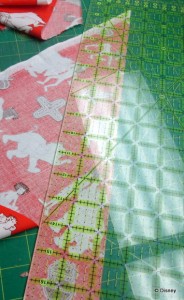
Baste the layers together and quilt as desired. I chose to quilt curved lines as an echo to the curved seam.
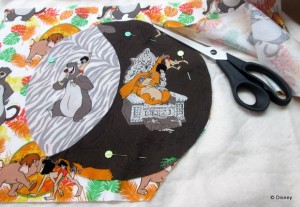


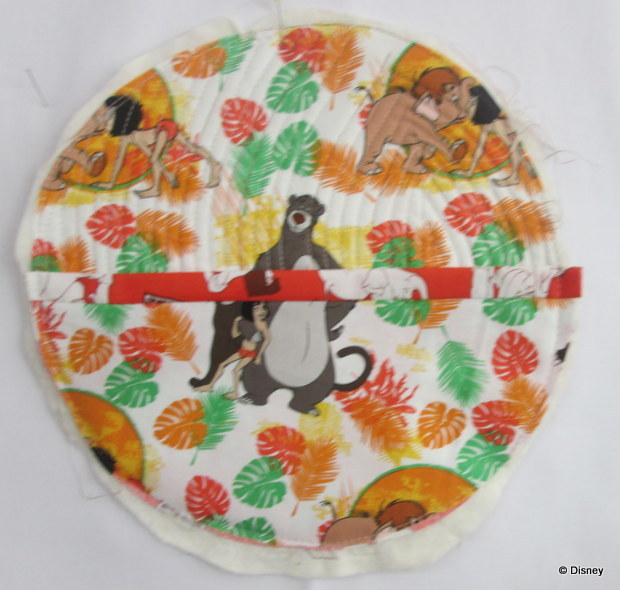
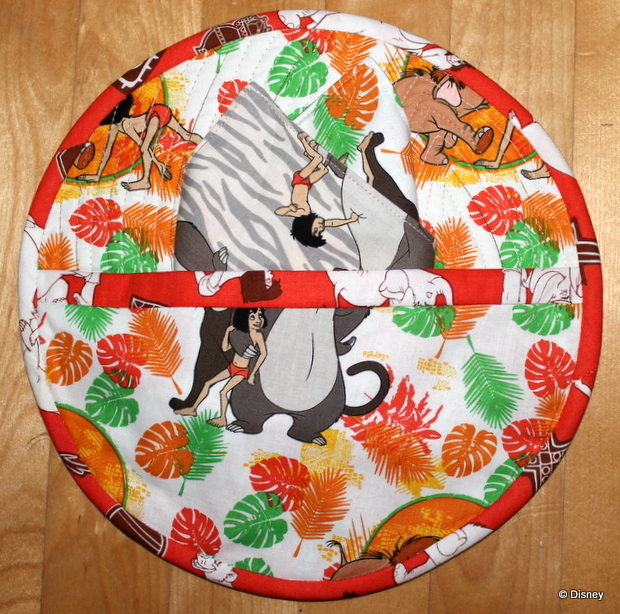
Now that’s when I decided to get a bit more creative. I took the paper templates and taped them together to get the circle of the placemat and cut it in half. I cut that piece out of my backing fabric. I took my binding fabric and cut a rectangle (a bit bigger than my half circle). I sewed that rectangle to the top of my half circle (right sides together) and moved the rectangle under my half circle fabric so that it appears as a binding and lining to that pocket. It will be convenient to hold a napkin and utensils in the lunch box.
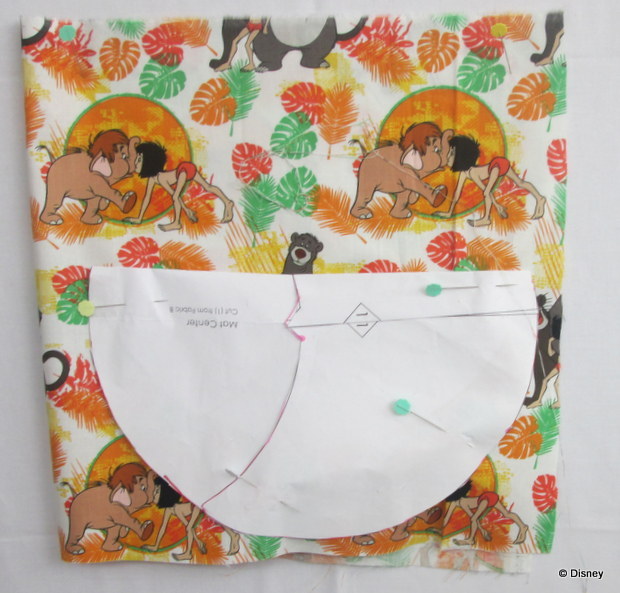
Stitch that piece to the perimeter on the back of your placemat.
Notice how my fussy cutting looks perfectly aligned!
Cut off the excess backing and batting to your placemat.
Cut some 2¼” strips on bias from your binding fabric. Make sure you cut enough to match your perimeter + 10”.
Fold your strip in half and pin to your placemat.
Sew your binding around the mat. I like to make my binding continuous but I know it can be headaches for lots of people so don’t hesitate to trim the starting point of your binding and sew over the beginning on the binding folding over the end binding to finish.
You will then have to whipstitch the edge of the binding to the backing fabric by hand.
I made a napkin with two 10” square fabrics. Sewing the perimeter (right sides together) leaving a 3” gap that allowed me to turn the fabric. I finished with a decorative stitch at 1/8” all around the napkin.
I hope you’ll enjoy making this placemat! Please share with us the results.
Comments are closed.