HOW-TO TUESDAY: HELLO MY DEER
August 2nd, 2016 by Camelot Fabrics
When I first joined Camelot Fabrics, they asked if I could help by making one of the DIY projects for Spring Quilt Market. Of course I said yes! I have another excuse to go in my quilt cave and leave my husband alone with the three kids: This is for work!
Imagine my surprise when I saw that the pattern was designed for templates! I am not a template enthusiast. As a matter of fact I am more the lazy quilter type who enjoys simple strip piecing projects. So I put my thinking cap on and figured out how to make this project without using templates. And I thought: Why not share this on a How To’s Day post? The pattern is called Saybrook Island Pillow by Stephanie Palmer of Late Night Quilter .
Let’s start at the beginning: printing. One of the tricks to working with templates is making sure they print at 100% size, and don’t get scaled down when you print. You can do this in your printer settings, by selecting “print at actual size” instead of “scale to fit media”. We’ve inserted a 1” test square on the template page, so you can check that everything printed at 100% size.
So now you know how to double check the scale of your template. You can check out the free printable PDF of this pillow pattern on our website.
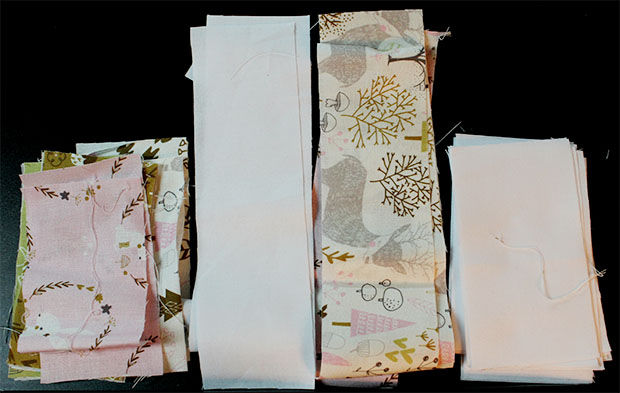
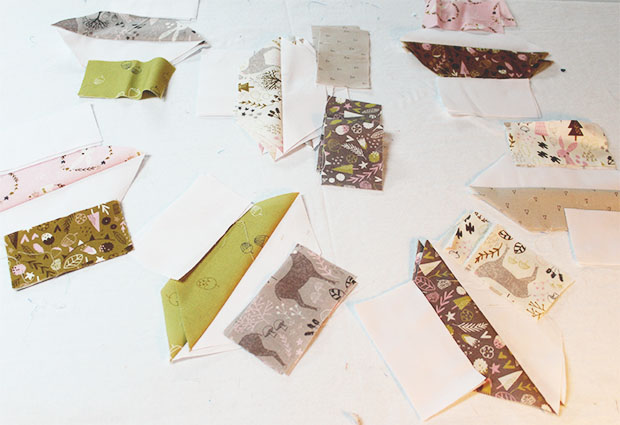
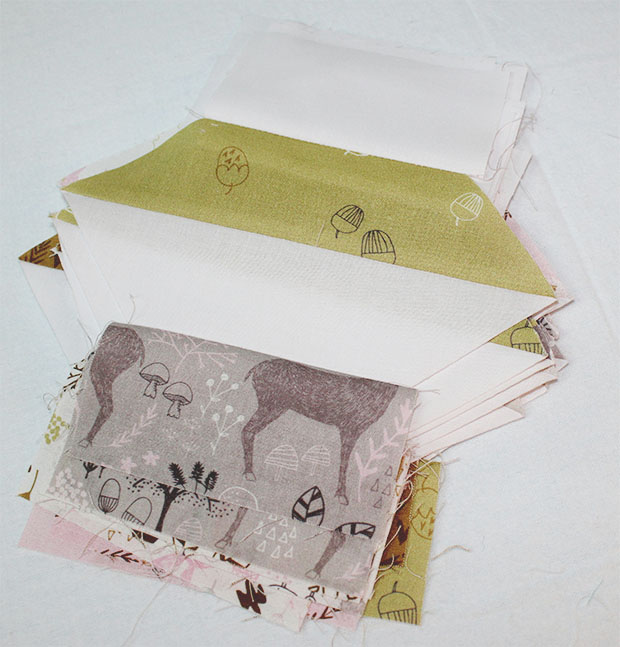
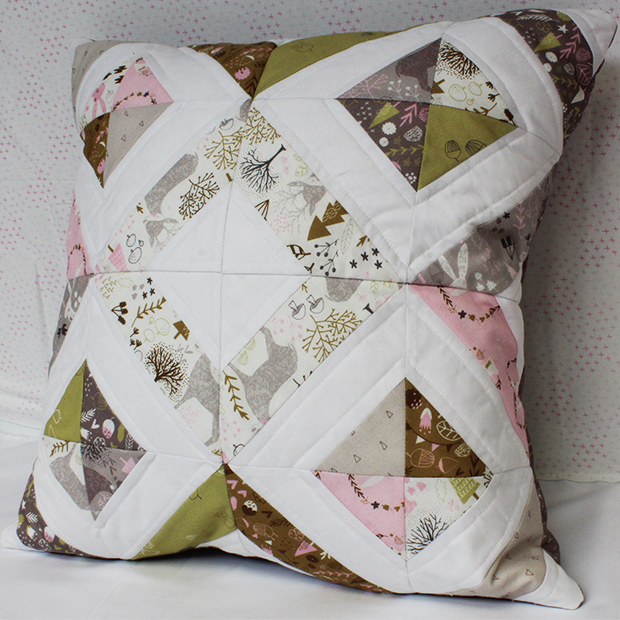
However, for those of you who don’t like templates, here’s an example of another way to make the pillow. In this example we’re using our new Hello, My Deer collection.
I must warn you! If you like my way of making the Saybrook Island pillow, you will probably need a new toy! I already had the Omnigrip 5½” square ruler but I realize it might not be in your ruler collection yet.
Step 1: The cutting
The two middle pieces of each block should be cut 2¼” x 8” (A)
The two outer pieces of each block should be cut 2½” x 4½” (B)
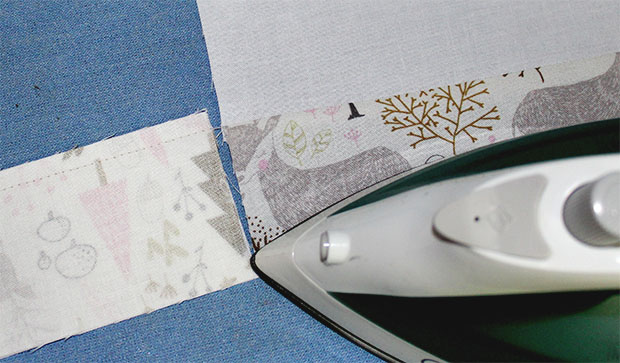
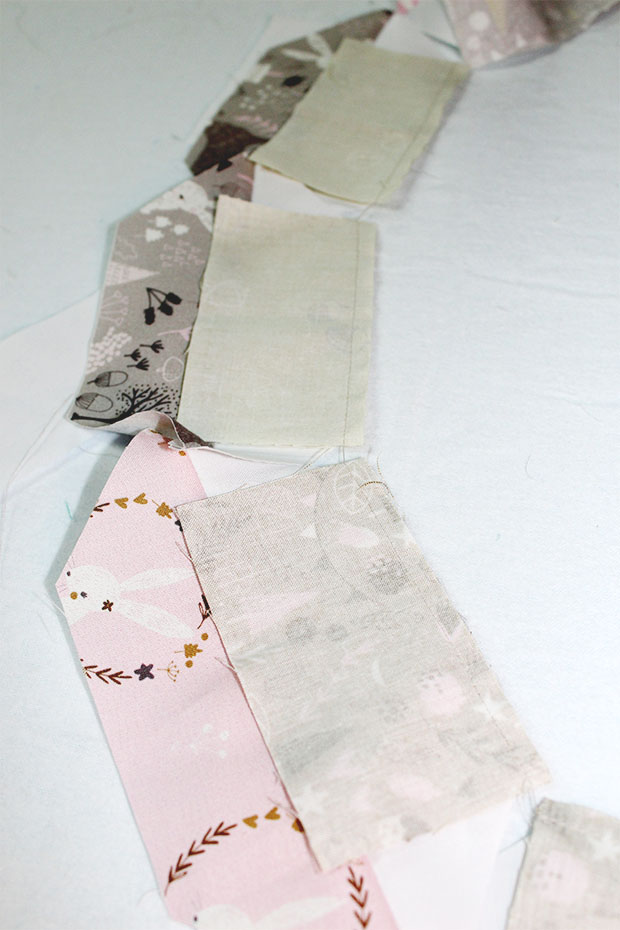
Step 2: Strip piecing part 1
Stitch two A pieces together along the long edge.
Make sure you are piecing a white strip with a Hello, My Deer fabric.
Press the seams. I try to position the seam allowance on the printed fabric, so that I can avoid any shadowing effect on the white.
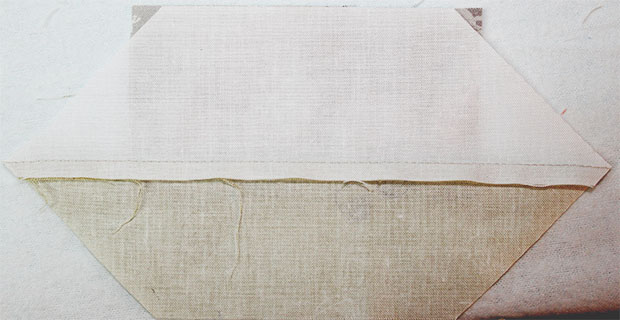
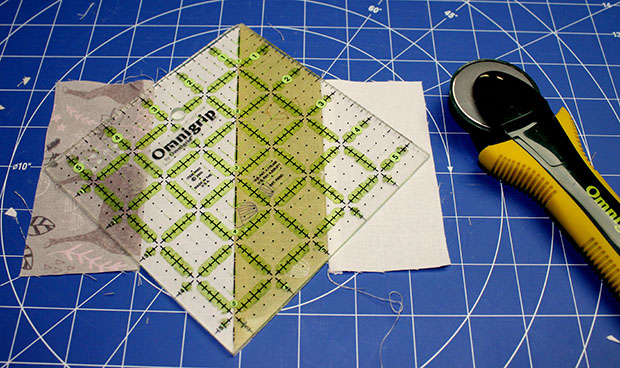
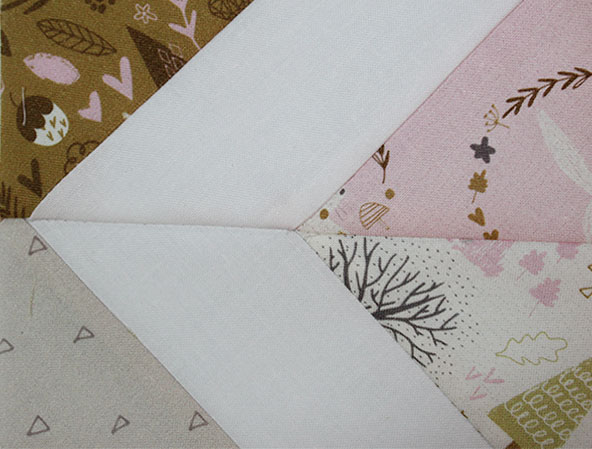
You’ll need the 5½” square ruler for this next step.
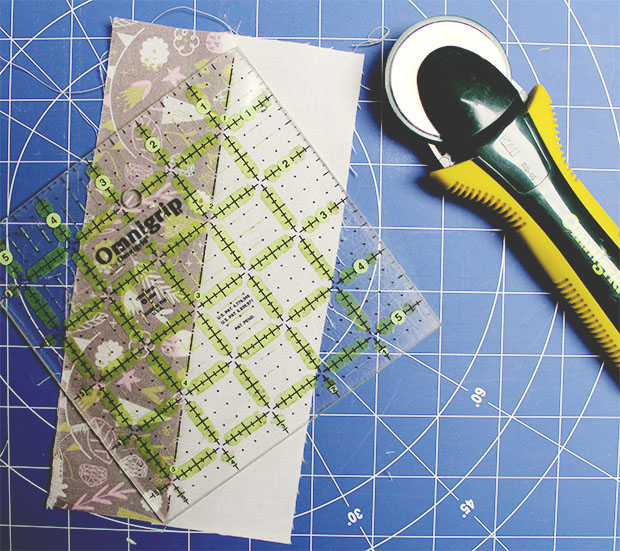
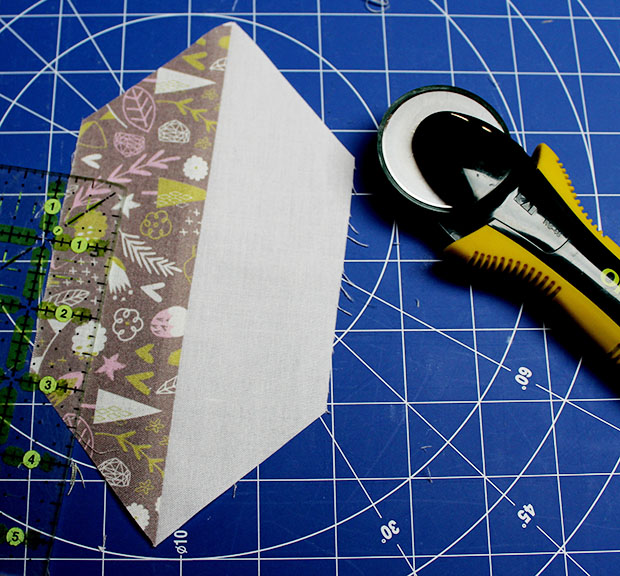
Position the diagonal line of the ruler onto your seam line while ensuring your fabric extends
past the ruler on both ends.
Cut excess fabric.
Repeat to make 16 units.
Now the fun begins! Ensure that you match the correct B fabrics to each piece.
Remember: Follow the illustration on page 1 of the pattern.
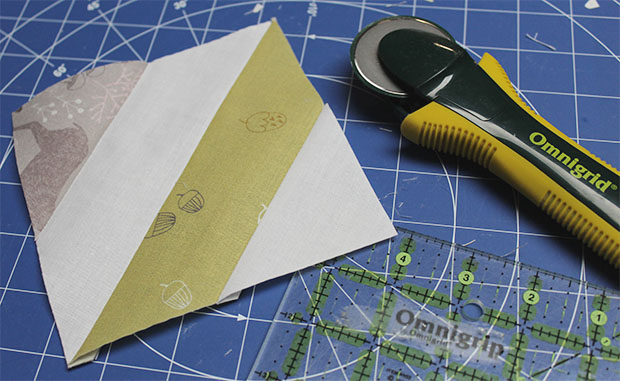
Stitch a Hello, My Deer B piece beside a white fabric piece along the long edge.
Make sure that your B fabric extends past the ruler.
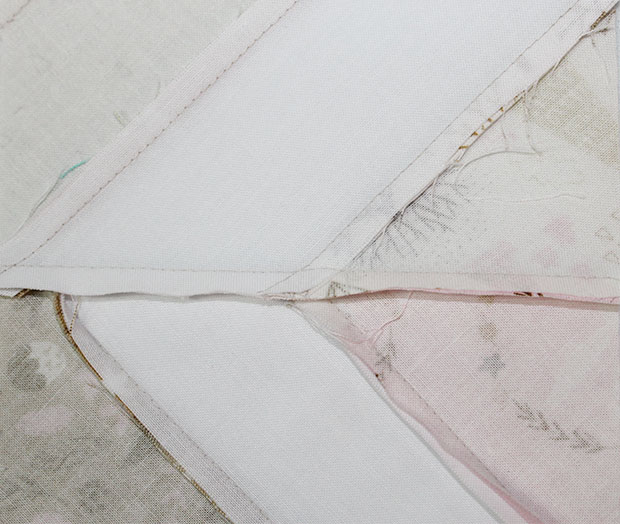
Press the seams toward your printed fabric.
Stitch a white B piece beside the Hello, My Deer fabric.
Make sure that your B fabric extends past the ruler on both ends.
Press the seams. I try to position the seam allowance on the Hello My Deer fabric side so that I can avoid the shadowing effect on the white.
Again, make sure you have the 5½” square ruler for this part.
Position the diagonal line of the ruler onto your seam line while ensuring fabric exceeds on both ends.
Cut excess fabric.
Repeat to make 16 pieces.
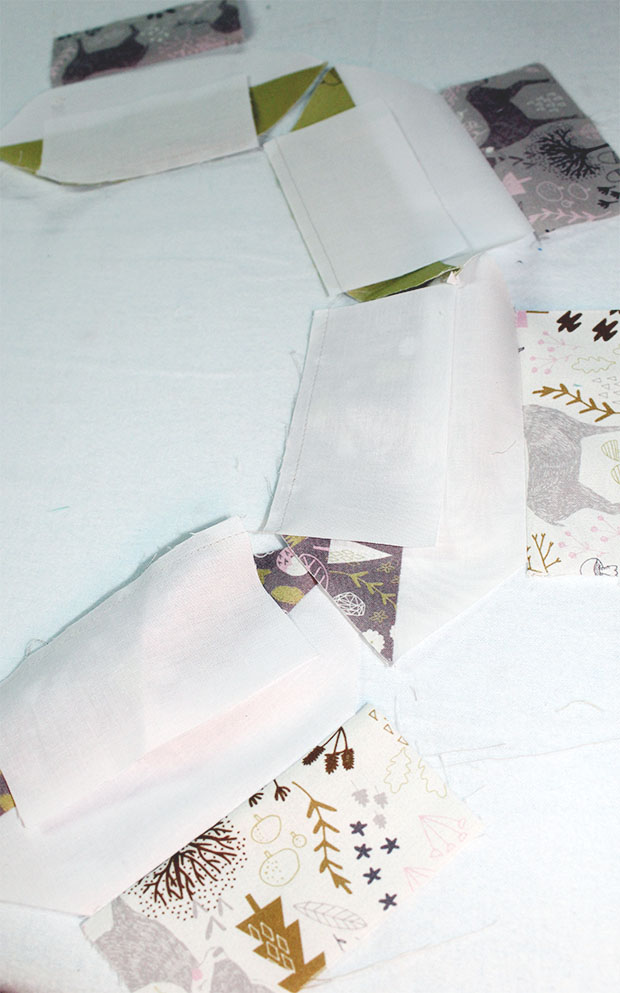
Step 4: Assembling the blocks
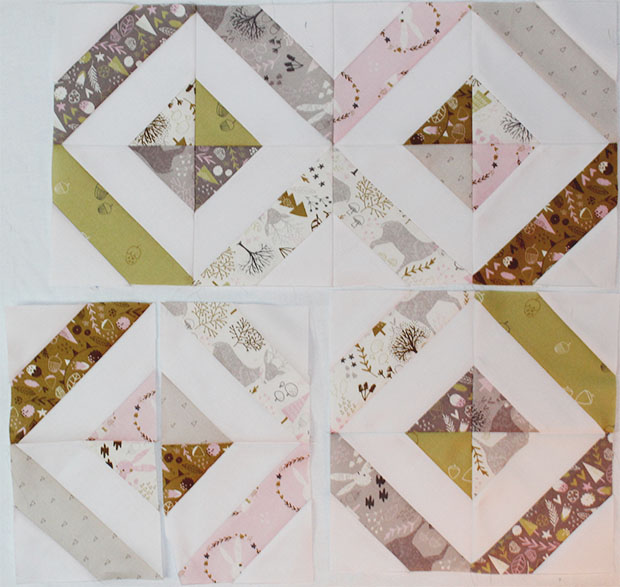 Position the blocks on your work surface to match the pillow illustration.
Remember: Follow the diagram in the pattern
To ensure that my seams aligned properly, I decided to stitch my small blocks together in 4×4 squares, then sew the larger squares together to complete the pillow front. That’s just me, though; you could also sew the small blocks into 4 rows of 4 small blocks, then sew the rows together top-to-bottom.
Press your seam allowances to one side. At this point, you’ll have some seam allowance crossing over onto the white fabric.
Step 4: Quilting
Now onto the fun part!
Quilting the pillow!
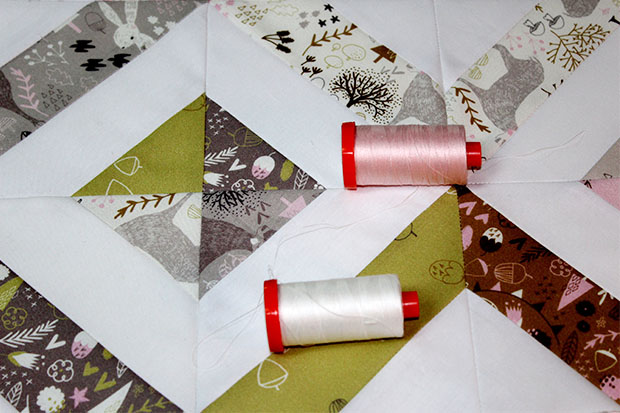
I pulled out my Aurifil thread. I wasn’t sure if I should use white or pink. However, since I was testing a new sewing machine and I didn’t know how my stitching would be, I played it safe with straight quilting lines in white thread.
I know… some would call me boring… but I wouldn’t want perfect seams to go to waste because of poor quilting!
Comments are closed.