How To’s Day: Teeny Tiny Play Set: Bloomers (Part 2)
August 12th, 2014 by Camelot Fabrics
Hi again!
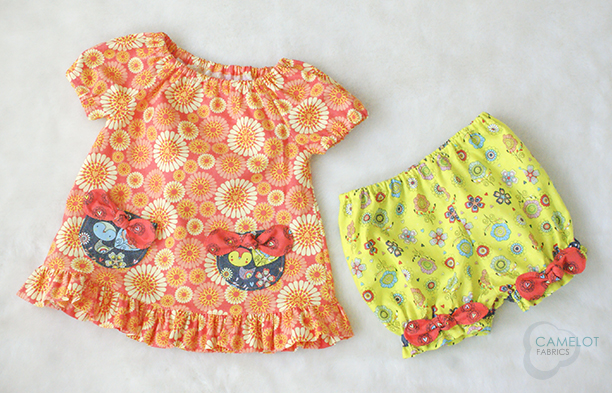
This is the second part to our Teeny Tiny Play Set Tutorial! If you haven’t seen Part 1, click HERE to see the full tutorial for the Tunic Dress. This tunic and bloomers set make the perfect pair for a little gal who wants to be comfortable and stylish! The colorful, bright prints of Our Petite Plume Collection are fresh, happy, and oh-so perfect for this little tunic and bloomers set. You can also mix-and-match the top and bottom with other items, but together they are just too cute!!
Click HERE to see the full Bloomers Tutorial!
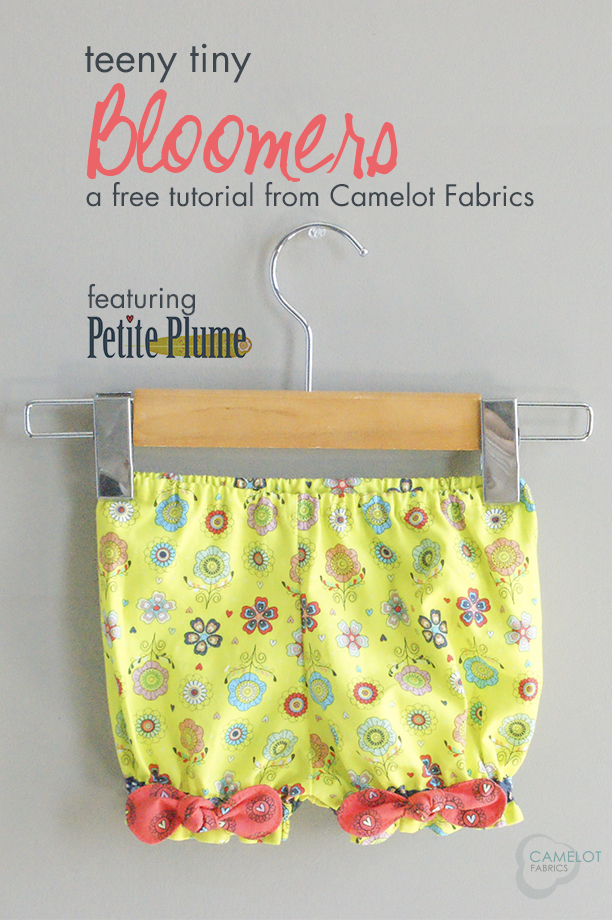
Teeny Tiny Play Set: Bloomers (Part 2)
SIZE: 0-3 months
TOOLS & SUPPLIES:
The following cuts of Petite Plume quilting cotton (44” wide) from Camelot Fabrics:
– 1/3 yard of 9140303 #1 for the Bloomers
– 1/8 yard of 9140303 #2 for the Elastic Casing
– 1/8 yard of 9140306 #1 for the Knot Bows
– 1 yard of 1/4” elastic
– Paper printer
– Basic sewing supplies: sewing machine, needle & coordinating thread, iron & pressing surface, measuring tape, scissors & fabric shears, straight pins, and a fabric marker
NOTES:
– Please wash, dry & iron your fabric before beginning, and trim the selvages.
– Unless otherwise directed, use a 1/2” seam allowance throughout.
– To prevent fraying, stabilize your fabrics’ edges by serging, egg-stitching on a zig-zag setting or trimming the seam allowances with pinking shears.
CUTTING:
1. Print the Baby Bloomers pattern PDF at 100% of actual size. Tape the pattern pieces together, matching letters (“A to A”, “B to B” etc.) and aligning the small black triangles to form diamonds. Cut out the pattern pieces.
2. Trace or pin the pattern pieces to folded double layers of fabric as indicated on the pattern templates, and cut out the pieces.
3. Cut the elastic into (2) 9” lengths & (1) 16” lengths.
ASSEMBLY:
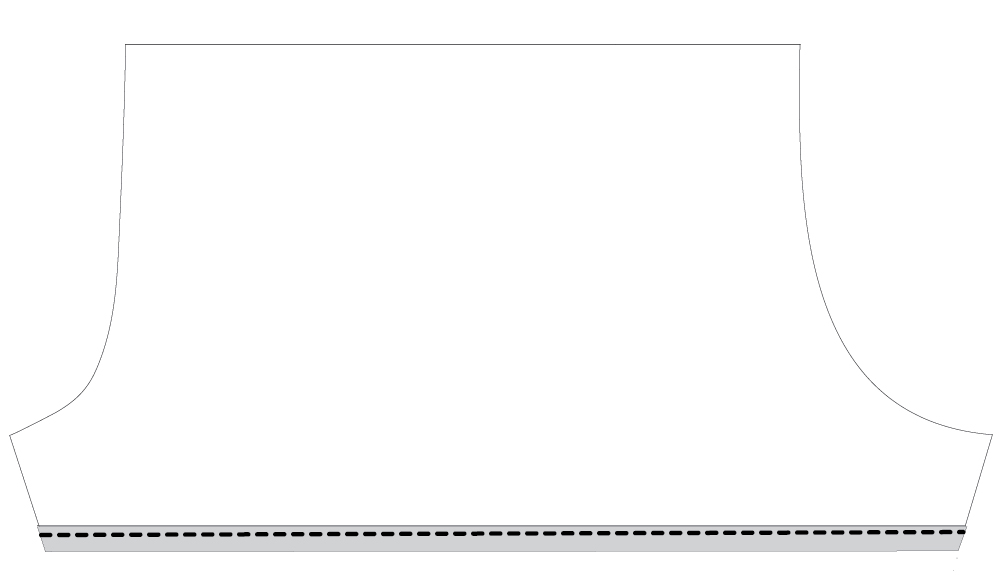
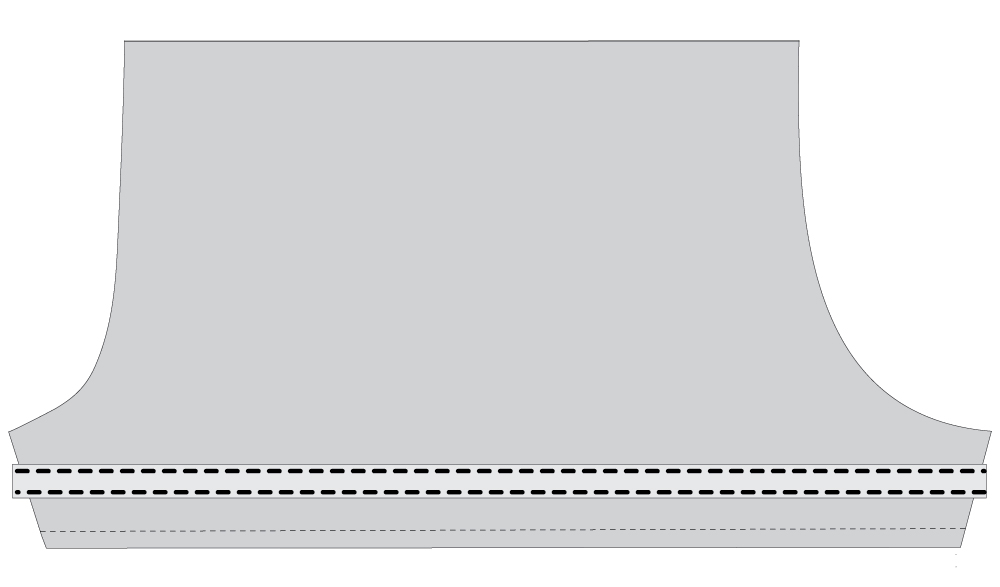
1. Sew a 1/4” rolled hem along the bottom edge of each Bloomer piece.
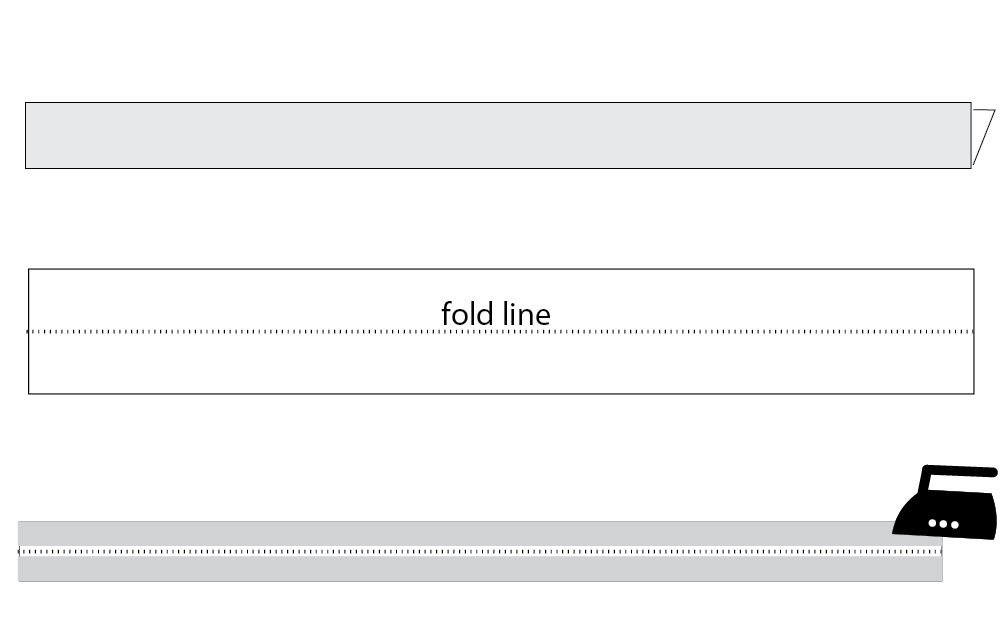
2. Fold each Elastic Casing in half lengthwise, Wrong Sides together. Unfold & press each edge to the center of the strip, using lots of steam for crisp folds.
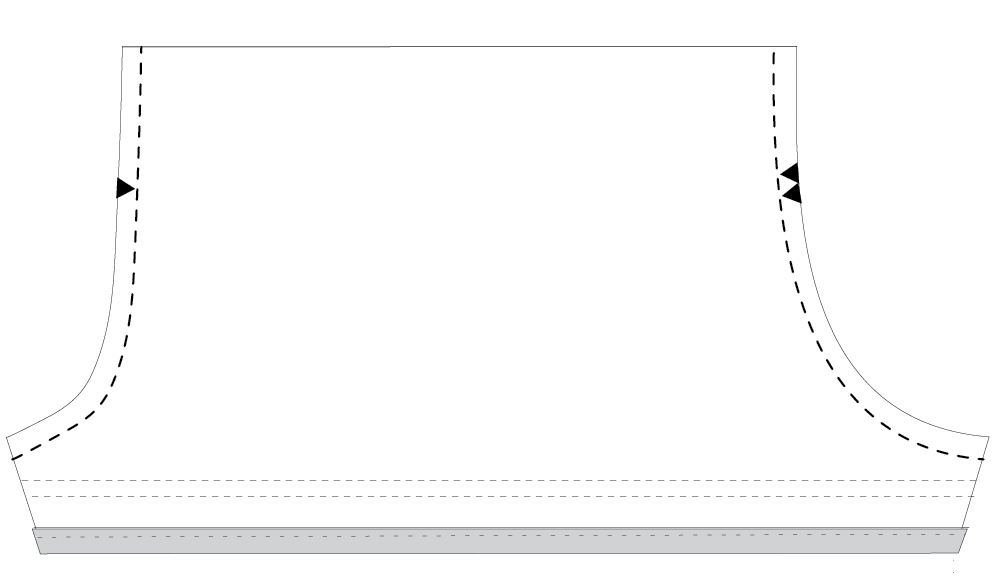
3. With the Wrong (raw-edged) Side of the Elastic Casing against the Right Side of (1) Bloomer leg and pin the Elastic Casing into place 1/2” from the bottom edge of the bloomers (draw a chalk guideline if needed). Topstitch (2) seams, 1/8” from the top & bottom edges of the Casing, and trim any excess Casing length. Repeat for the second Bloomer piece.
4. Pin & sew the Bloomer pieces together, Right Sides facing, along their curved groin seams. Make sure to line up the single (front seam) & double (back seam) notches.
Clip into your curves & press the seams open.
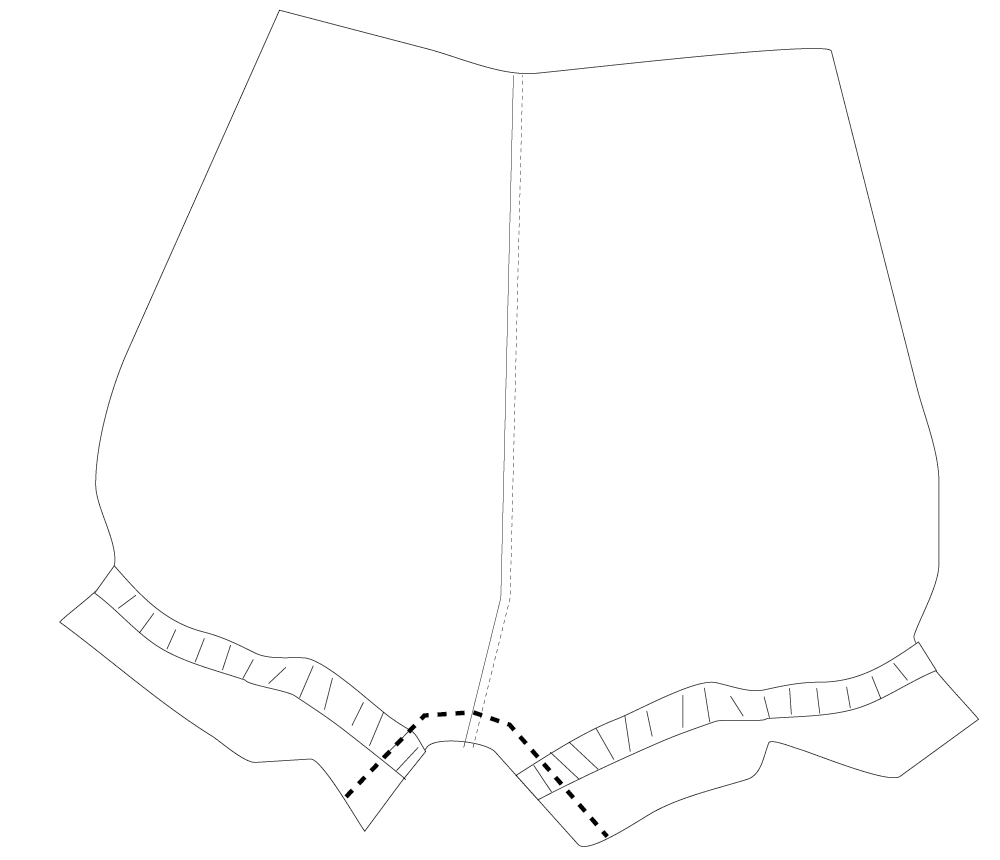
5. Thread (1) 9” piece of elastic through the Elastic Casing of a Bloomer leg with the help of a safety pin. Tack the ends of the elastic in place, about 1/4” from the fabric’s edge.
Repeat for the second Elastic Casing.
6. Lay out the bloomers, Right Sides together, with the center seams aligned. Pin and sew the short inseam, pushing the casing gathers away from the seam allowance as you sew.
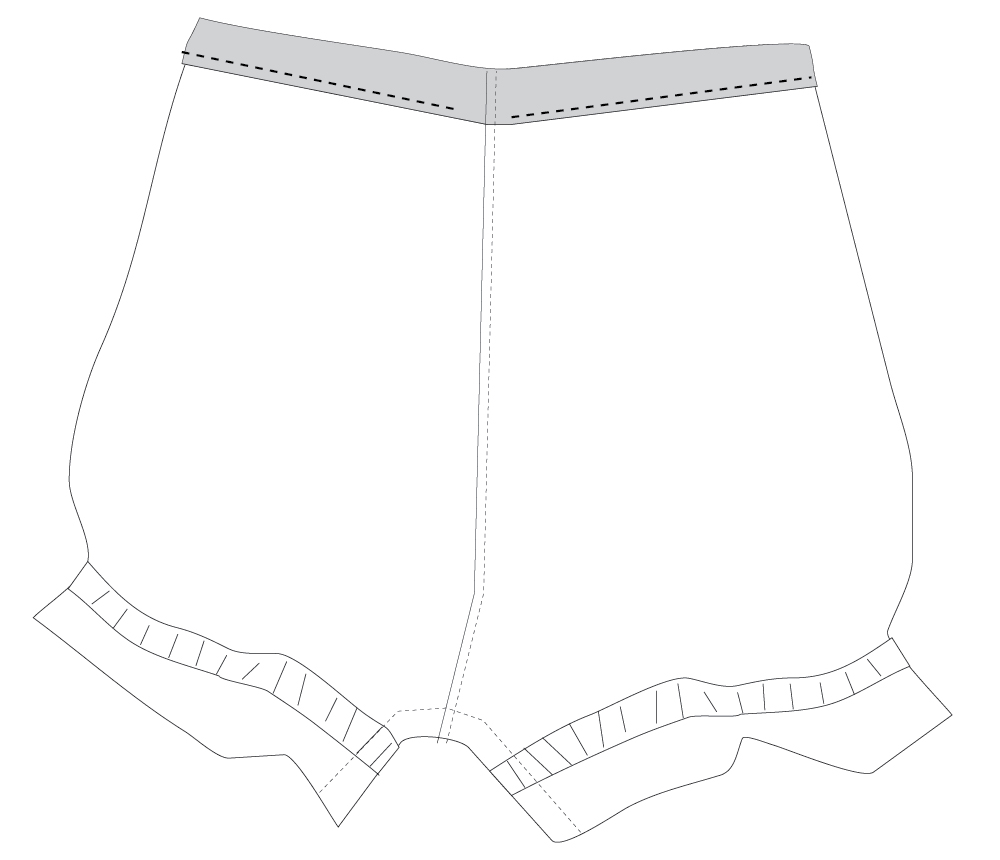
7. To create the waist elastic casing, turn the raw edge of the waistline down by 1/4”, Wrong Sides together, and press. Turn by 1/2” and press again. Secure the casing as shown, with a line of stitches 1/8” from the inner fold (a scant 1/2” from the top edge of the waistline).
8. Feed the 16” piece of elastic through the waistline casing with the help of a safety pin, join the ends and stitch the gap in the casing closed.
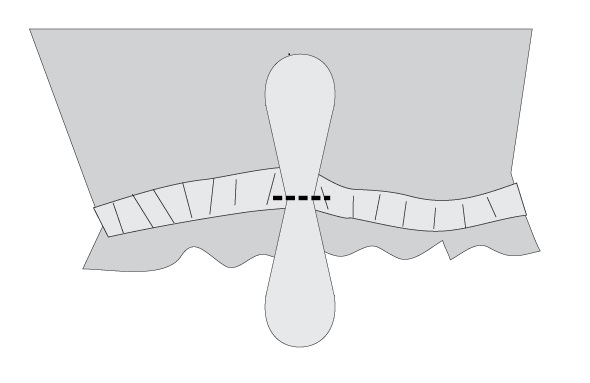
9. Sew the Knot Bow pieces from dot to dot, Right Sides together, with a 1/4” seam allowance. Leave the gap between the dots open.
Clip your curves & the “V” of the Knot Bow, then turn it Right Side out using a long thin object such as a chopstick or knitting needle. (Start by poking one rounded end of the Knot into the “tube” until you can grab and pull the bow right side out.) Press, turning the edges of the gap under by 1/4”.
Topstitch all the way around the Knot Bow, including the gap.

12. Center the Knot Bow vertically on the placement mark indicated on the pocket. Stitch across its center several times, and tie it in a single overhand knot.
Play with the arrangement of the Knot’s tails until they sit nicely against the elastic casing.
Be sure to check out the full tutorial for the Tunic Dress HERE. You can also find the printable PDFs of the two patterns on our website. If you decide to give this tutorial a try, or any of our Free Projects, we would love to see. You can send all your pictures to info@camelotfabrics.com. Please be sure to check out Tie Dye Diva for all of her other incredible patterns. Thank you so much, Jen!! Have a great day, everyone!
Happy Sewing!
Comments are closed.