How To’s Day: Bias Bound Table Napkins Tutorial
January 7th, 2014 by Camelot Fabrics
Hi everyone!
Happy Tuesday everyone! We hope you all are having a wonderful day. It is terribly cold and windy here today, with just a wind gust of only 45 km/hr (27.9 mi/hr)…eek! We are exceptionally jealous of all of you who are enjoying sunny weather and warm rays. With the cold weather, we need something to cheer us up…such as a…party! The holiday festivities have thus come to an end, but sometimes throwing a fantastic party on impulse is the best way to lift the spirits of any bit of S.A.D. (seasonal affective disorder).
For us, any gathering that includes great company, amazing food, and lovely decor (and maybe just a dash or two of sparkle!) is a party! We love easy, DIY party decorating ideas and we’ve got one for you today. Napkins are a great way to change up a party look and add some instant flair to your dinner table, and our DIY napkins tutorial can do just that!
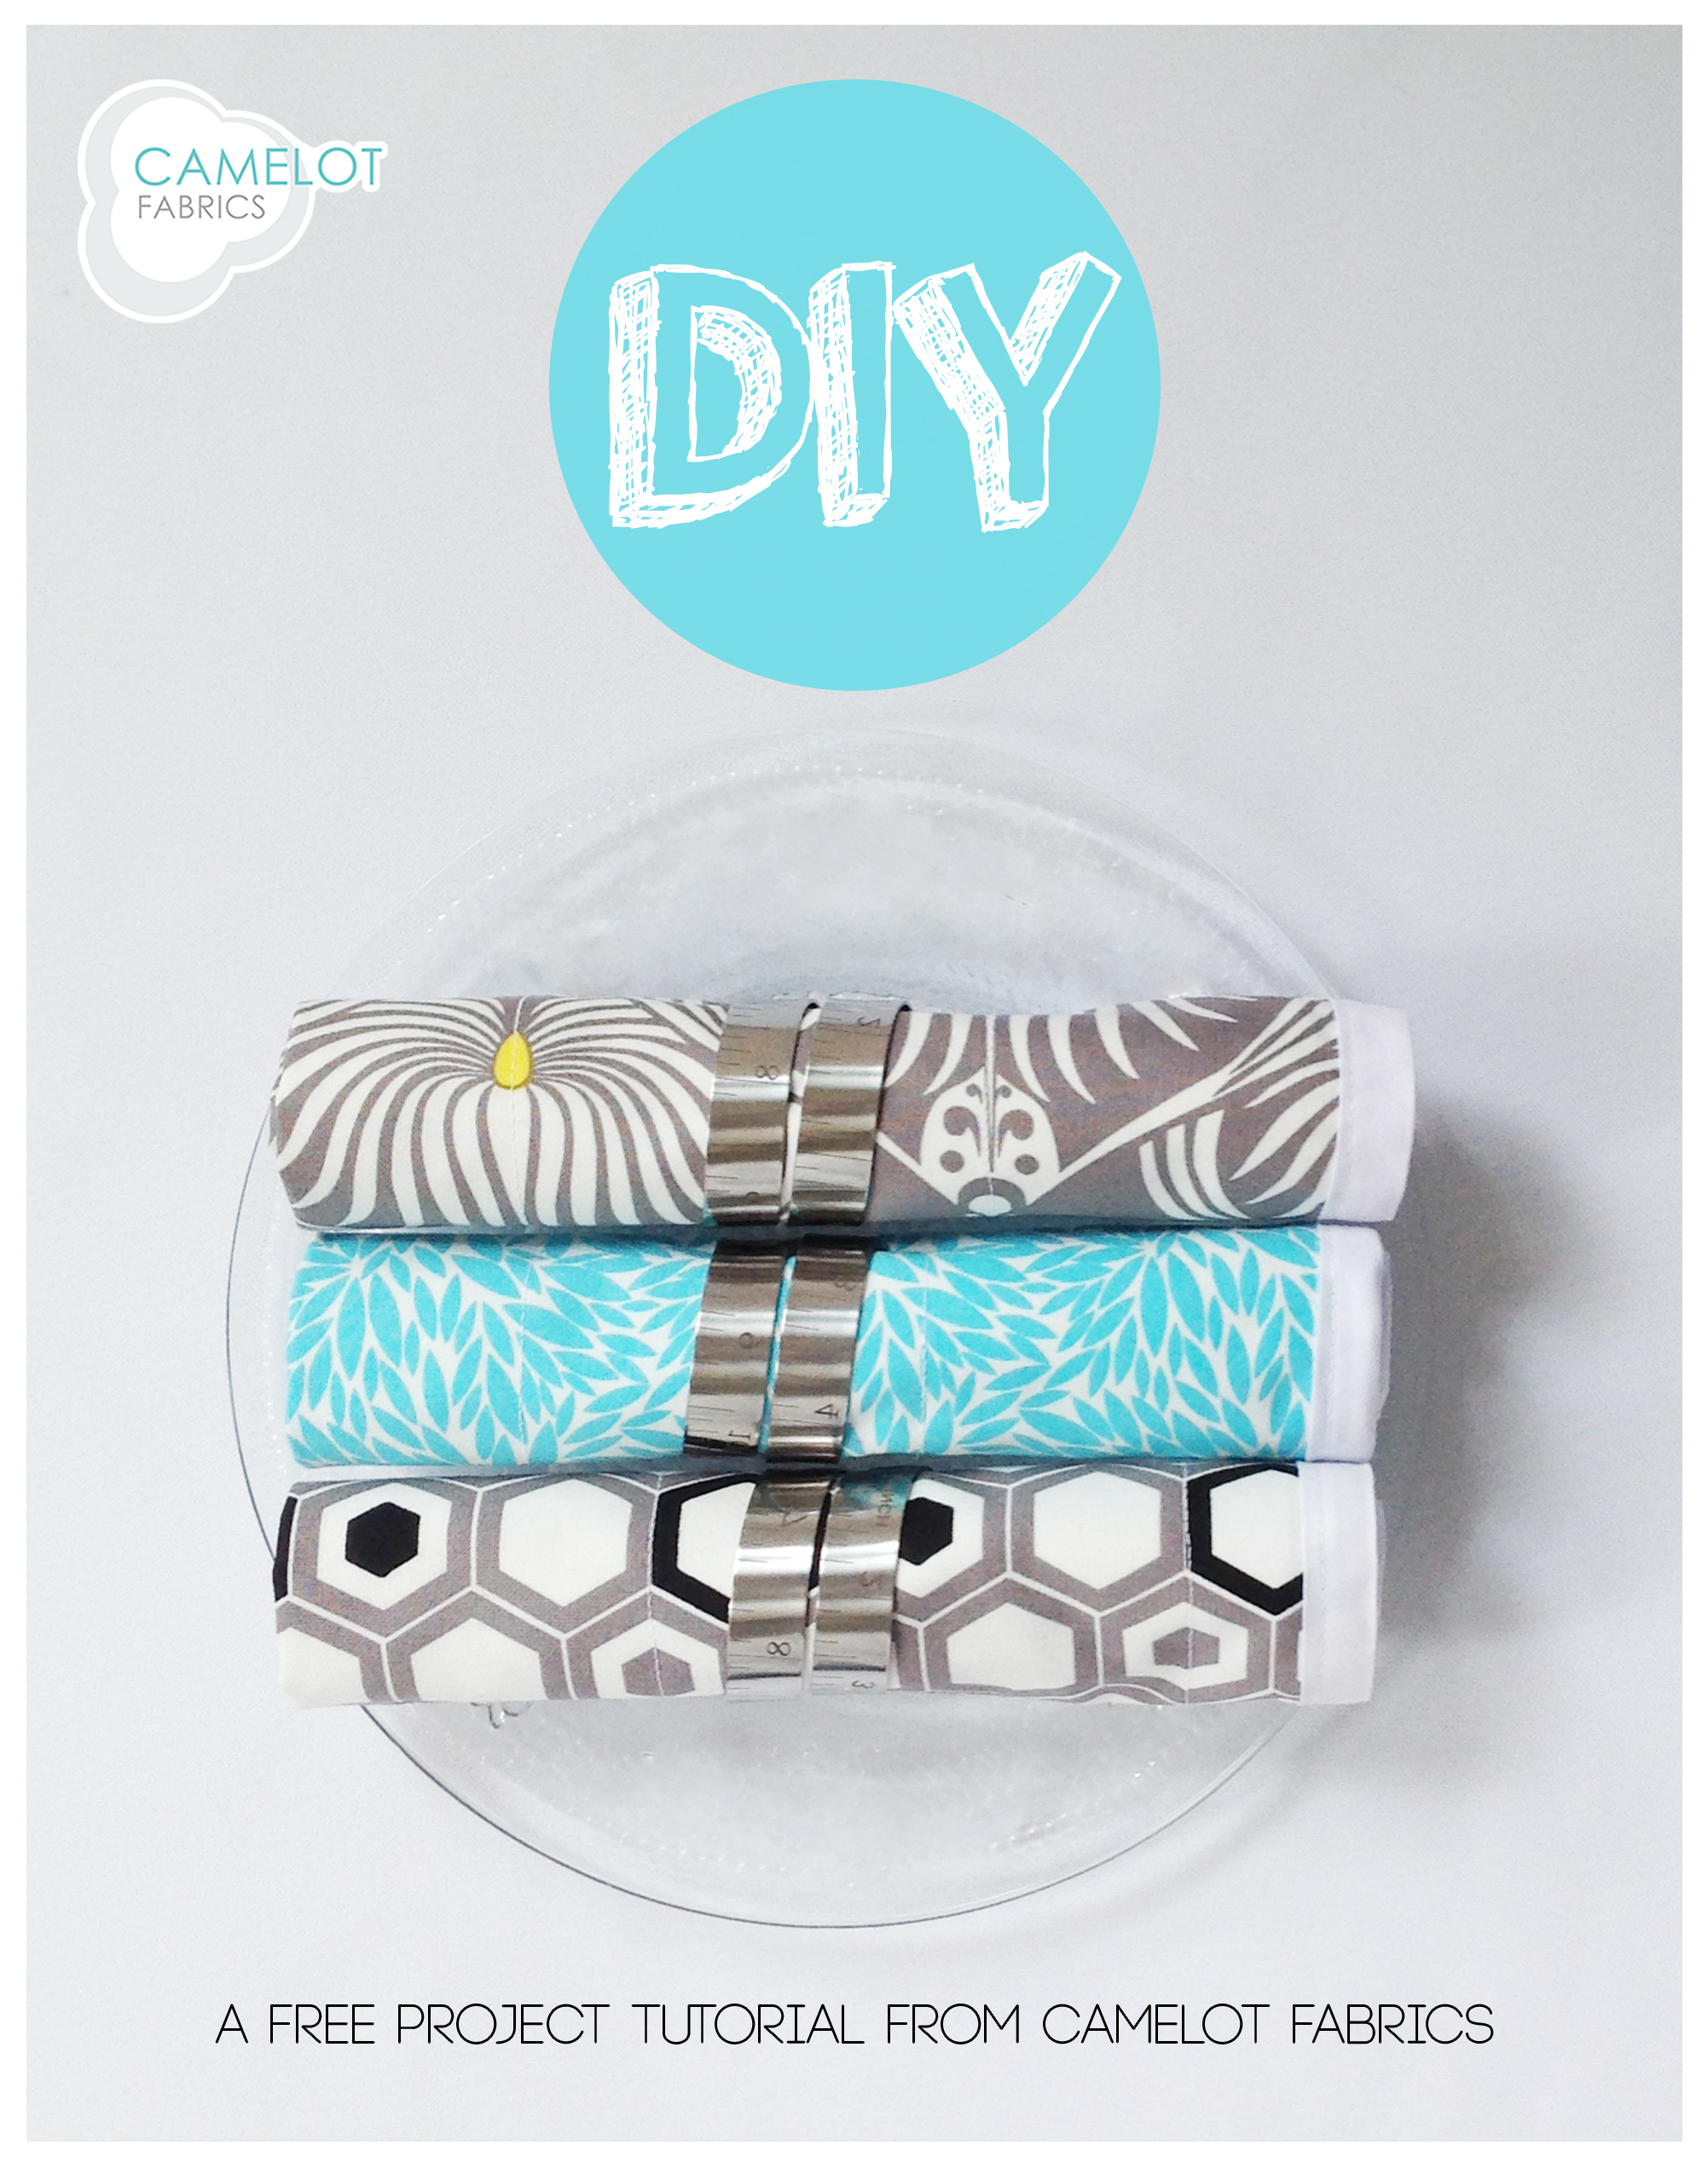
They are easy to make, look fantastic, and are environmentally-friendly. Ps, how cute are these measuring tape-styled napkin rings?! They are part of our new barware collection that will be coming soon, so stay tuned! So, call all of your closest friends and get to DIY-ing, ’cause you’ve got a party to plan!
Click more to see the full tutorial!
DIY Bias Bound Table Napkins Tutorial
Supplies – for 2 sets of 10 napkins*
– 1 Fat Quarter Bundle of The Design Studio Collection quilting cotton from Camelot Fabrics
– 5 yards of Enchanted quilting cotton (44” wide) from Camelot Fabrics in 001 white*
– 40 yards of white double-fold bias binding
– Basic sewing supplies: Sewing machine & thread, Fabric shears, Iron & pressing surface, Measuring tape, Straight pins
Notes
*Each fat quarter yields 1 napkin. Each 1/2 yard of Enchanted yields 2 napkins.
– Please wash, dry & press your quilting cotton before beginning.
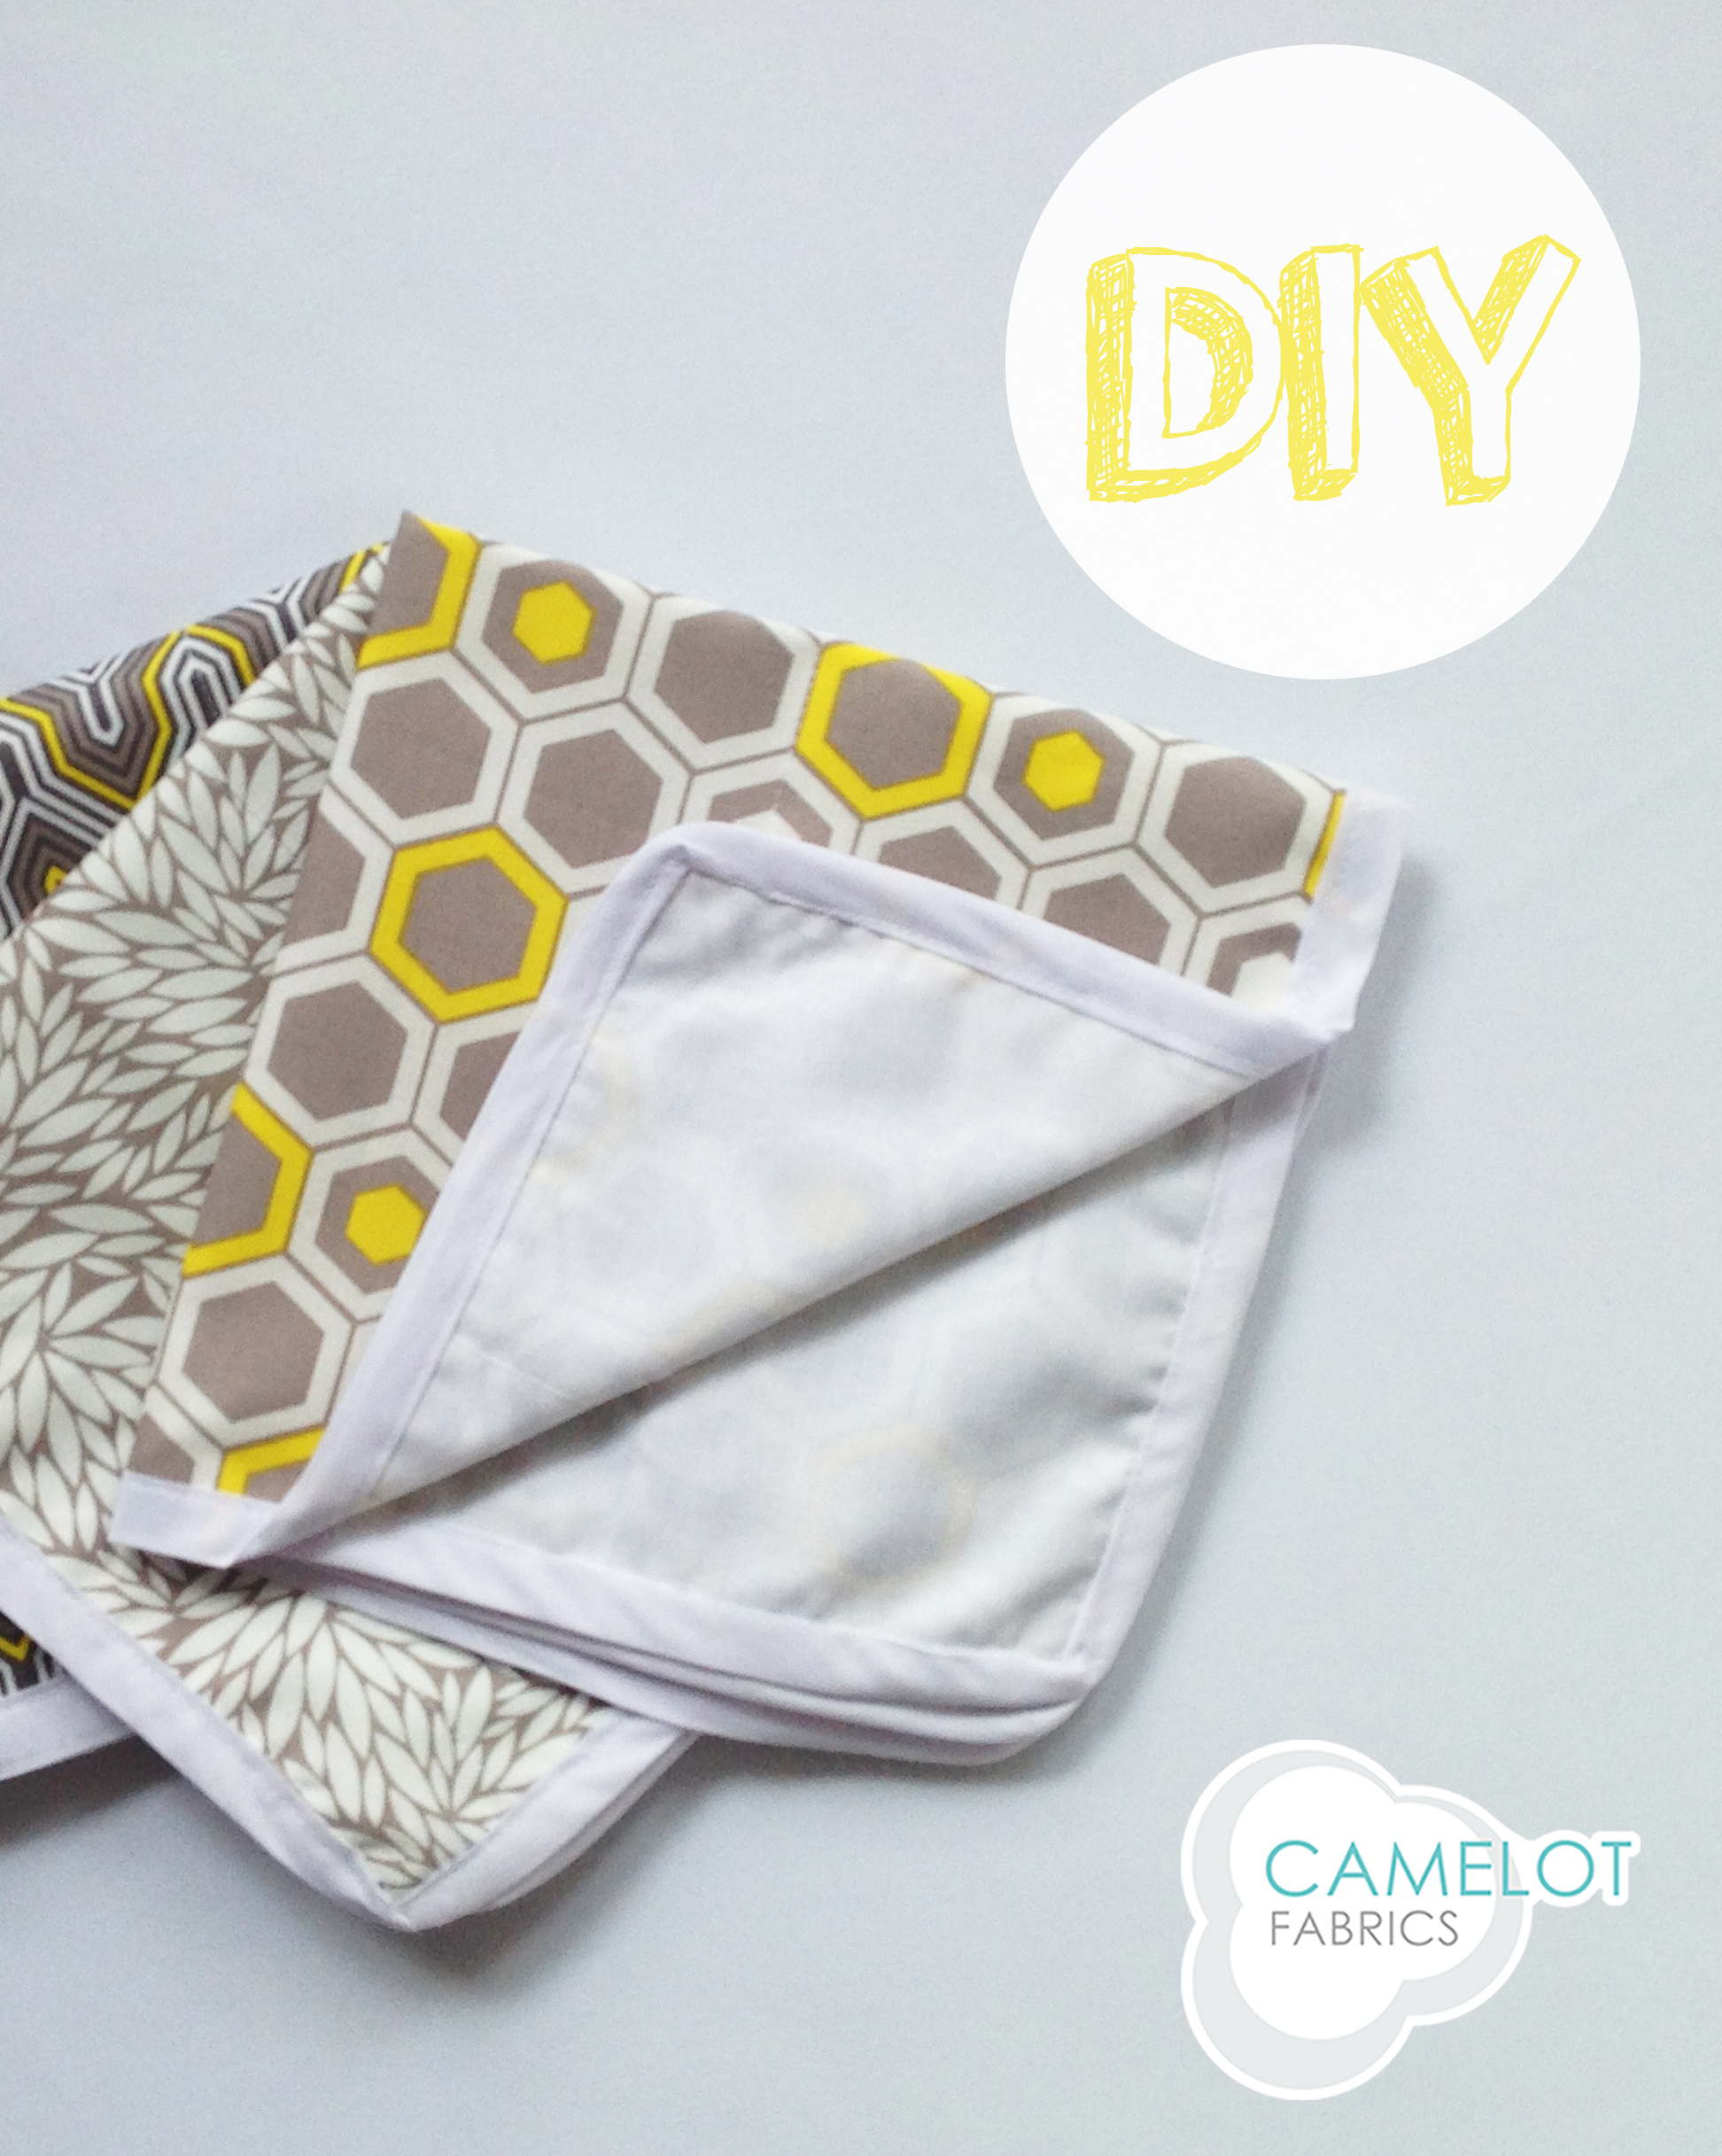
– Finished size of each napkin: 16” square
Instructions
1. Cut a 16” square from each Fat Quarter of the bundle and (20) 16” squares from your Enchanted quilting cotton.
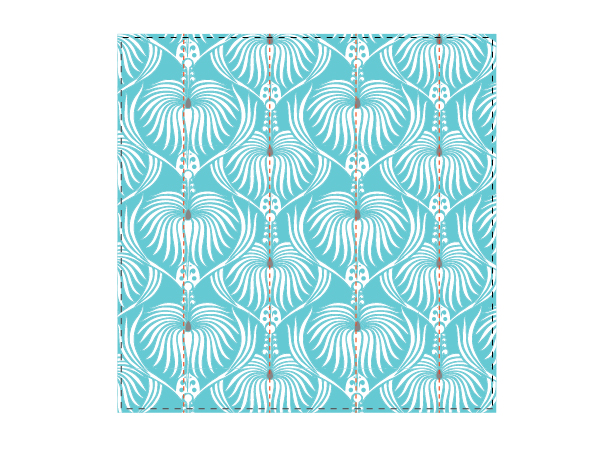
2. Baste each white cotton square to a patterned square, Right Side outward, with a 1/8” seam allowance. Trim any excess around the edges.
3. Using your fabric’s pattern as a guide, sew three or four parallel lines across each napkin to prevent its two layers from shifting during use and washing.
Binding the Edges
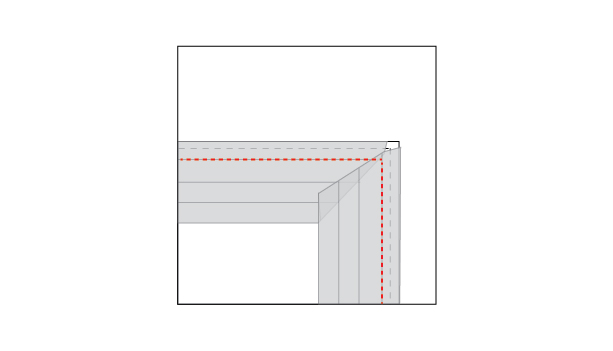
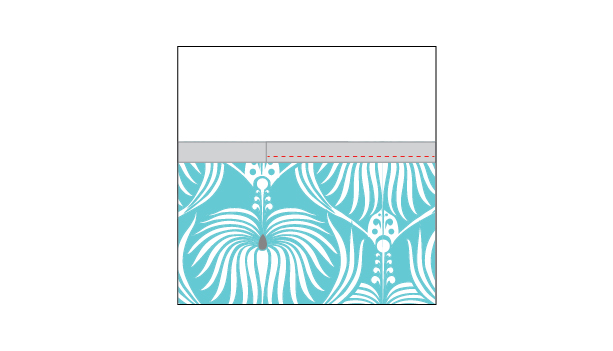
1. With the white side of one napkin facing upward, open up your binding tape and line it up with the edge of your fabric, the outside of the bias against the napkin. Sew the binding to the napkin along the outermost fold line, backstitching at the beginning of the seam.

2. When you approach the corner, sew up to about 3/8” from to coming edge, or the same distance as the width of your seam allowance. Put the needle in your work and rotate the fabric so you are ready to begin the next side of the napkin. Tuck the wider part of the binding under your machine’s foot, out of the way of the seam. Lower the foot and resume sewing.

3. Continue around the perimeter of the napkin until you come to the beginning of the bias tape that you sewed in Step 1. Overlap the end by about 1/2”, backstitch and cut your tape. Whenever you run out of a piece of bias, simply overlap the end with a new piece and continue the seam.
4. Clip into the outer corners of the bias tape.
5. Turn your napkin over so that the patterned side is facing up. Wrap the bias tape around the napkin’s edge, with its own long edge tucked in toward the center of its fold (it’ll want to do this naturally), and stitch it in place with a seam 1/8” from the inner fold.
6. When you come to a corner, stop a seam-allowance away from the edge, put in the needle and turn the work. Tuck the unsewn bias under the foot as you did in Step 2 and continue the seam. Backstitch at the end of the tape.
7. Press the binding well, especially at the corners.
And there you have it! You can now make your own table napkins, in a multitude of fun designs of your choice! If you decide to give this tutorial a try, or any of our free project tutorials, we would love to see them! You can send your pictures to us at info@camelotfabrics.com or you can tweet us. Thank you so much for reading today’s How To’s Day!
Happy Sewing!
Comments are closed.