HOW-TO THURSDAY: BACK TO SCHOOL CONTINUED
August 25th, 2016 by Camelot Fabrics
I hope you’ve enjoyed last week’s post showing how to make a pencil case for your kids. This week I want to show you how to make a place mat by making just a few changes to one of our table runner patterns.
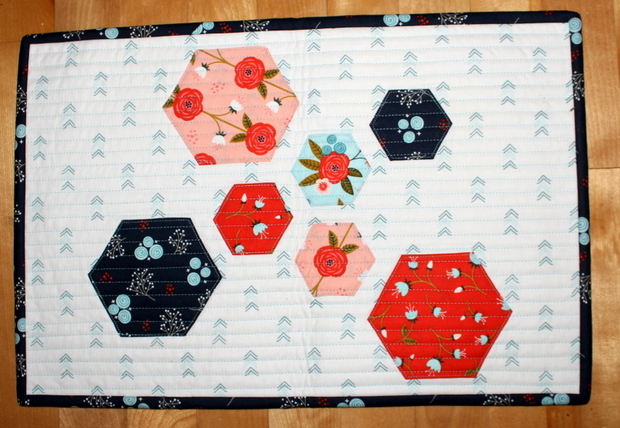
I’m sure you’ve seen our great pattern “The Sky is Falling” Table Runner by Melissa Stramel of Lilac Lane Patterns. I really love that pattern so I decided to re-work it into a place mat. This can be so much fun with any one of our fabric collection. Can you imagine fussy cutting from one of our licensed brand that your kid loves? In this How-To, I chose to feature our Happy Thoughts collection.
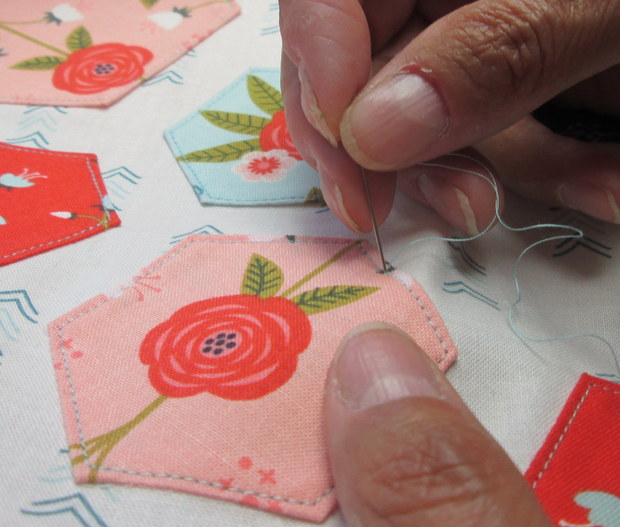
I started by printing the hexagons that are in the PDF pattern on our website and chose a few sizes to trace onto a one sided fusible stabilizer. I then cut the hexagons out of the stabilizer and fused onto the wrong side of the fabrics I wanted to be featured. I made sure the flowers were well centered in the hexagon.

Then I cut out the fabric leaving a ¼” seam allowance and used an iron to press them over to the back on all sides. If you find this part difficult, you can use water soluble glue.
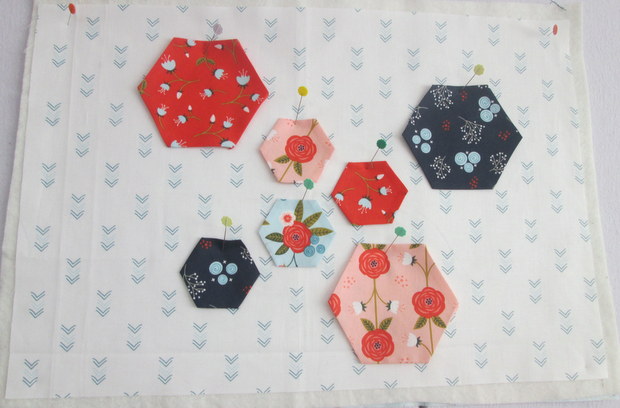
Moving onto the background fabric, I picked one to match the hexies and cut into a 12” x 18” rectangle. You can modify this size to better fit your needs. Then I positioned my hexagons and pinned in place.
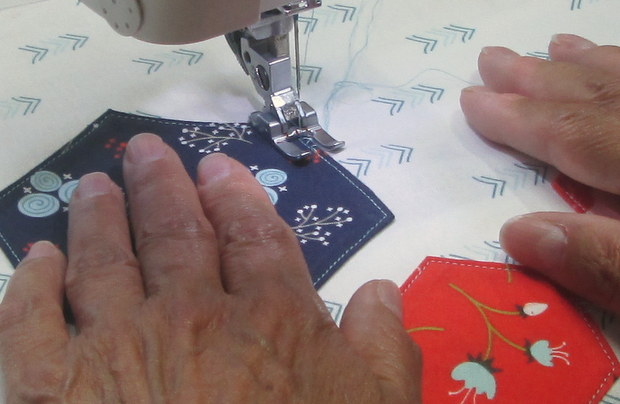
Once satisfied with the layout, I top-stitched each hexagon to the background fabric. (It’s best to match your thread to the hexie fabric.)
Here’s my trick for a nice finish:
When you top-stitch, leave 2 inches of thread at the beginning and end. You can then secure your stitching by threading the two threads from the top into a needle and sending them onto the back of the project where you will be able to tie knots on all four threads (two from the top bobbin and two from the bottom bobbin).
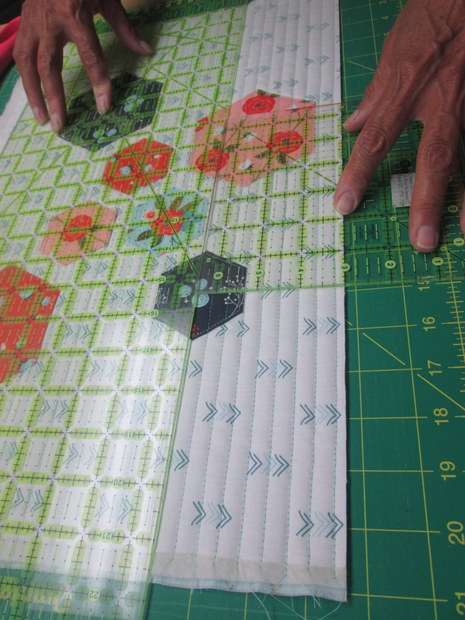
Once all the hexagons were top-stitched, I added batting and backing and quilted straight lines at ½”. Once quilted, I removed all the excess backing and batting and added my binding.
I hope you enjoyed this special back-to-school How-to feature.

And if you’d like to make a bag to match, might I suggest Cinzia’s grab-and-go backpack pattern that can be purchased here. It’s a great bag for yourself or your kids.
Comments are closed.