HOW TO’S DAY: DRAW STRING APRON
June 14th, 2016 by Camelot Fabrics
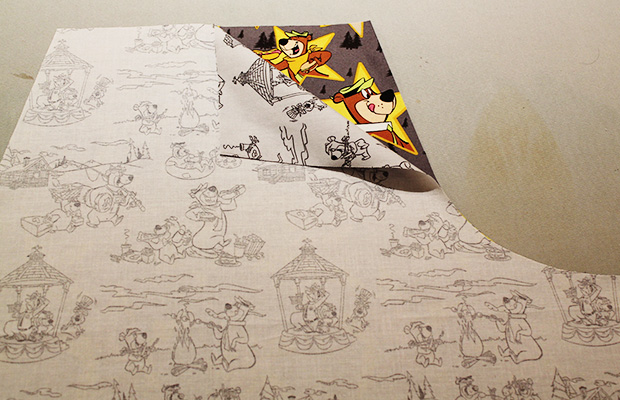
Remember last week I showed you how to make a pillowcase for Father’s Day? As my son still refuses to give up his new treasure, Cinzia has come up with another project that is quick and easy to do just in time for Sunday: A reversible drawstring apron!
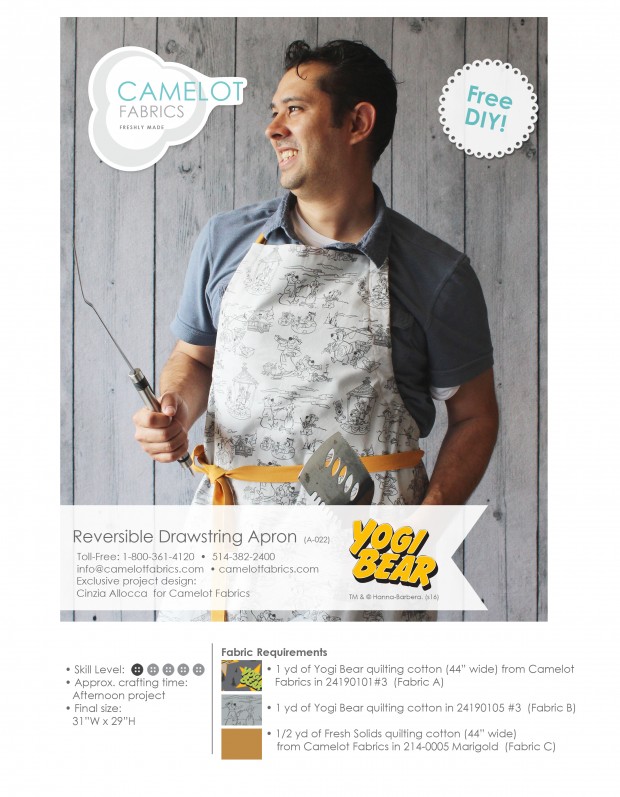
So grab more of the beautiful Yogi Bear collection and let’s get started.
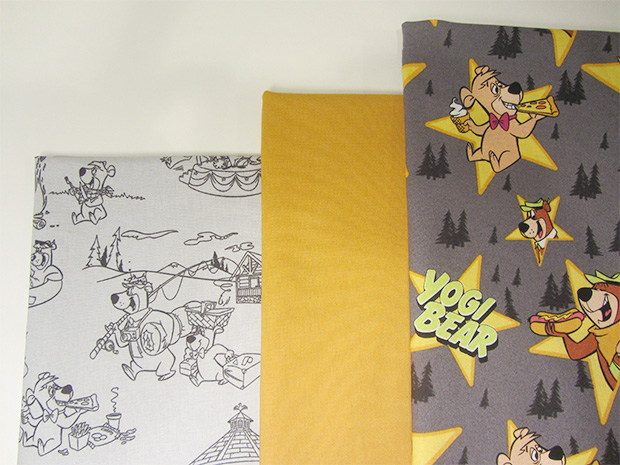
You will need a yard of two different fabrics (keep in mind that the apron is reversible) and half a yard of a coordinating fabric for the ties (there is so much to choose from in our Fresh solids and Mixology groups).
Print the templates to scale and join.
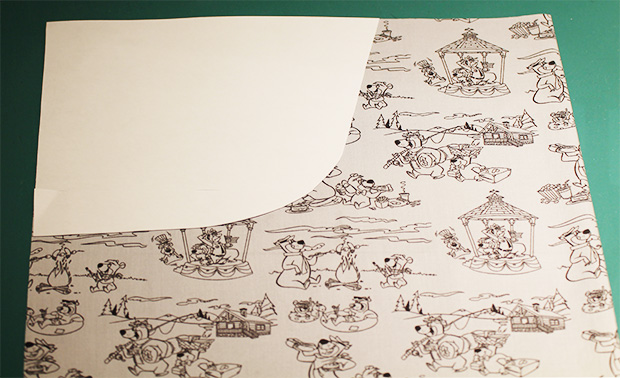
From Fabric A, cut 1- 30in (L) x 32in (W) rectangle. Fold in half, right sides together, along the length of the fabric (fold is parallel to the selvage).
Place the template on the top corner of the fabric (side opposite the fold, curve towards the center of the fabric), making sure that the arrows on the template run up and down.
Trace the template onto your fabric.
Note: If you are using a fabric with a directional print, make sure that print is running in the right direction (top to bottom).
Repeat with Fabric B.
For apron ties:
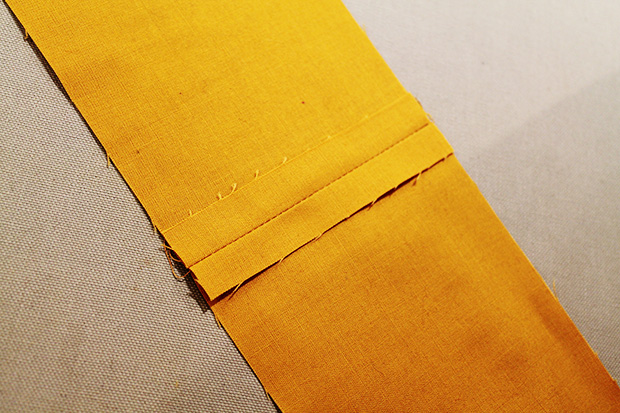
From Fabric C, cut 4- 4” strips.
Join together end to end to make one long strip. Trim so it measures 168” long.
Press seams open.
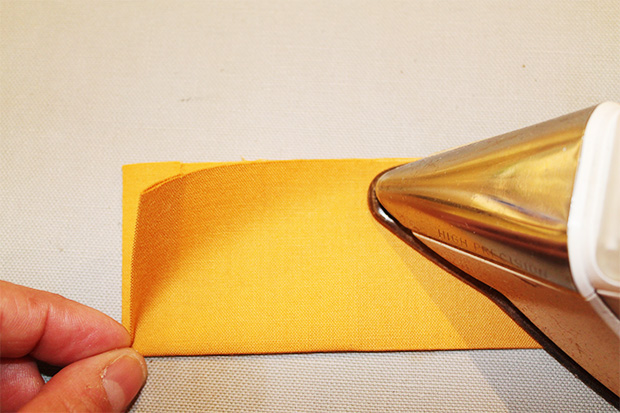
Fold each short end of the strip ½” wrong sides together and press.
Fold strip in half lengthwise, wrong sides together and press to create a center crease.
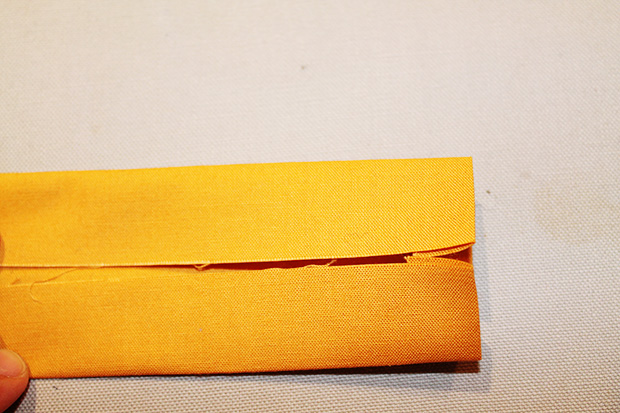
Unfold the strip and fold lengthwise again towards the center crease created in step 7 and press.
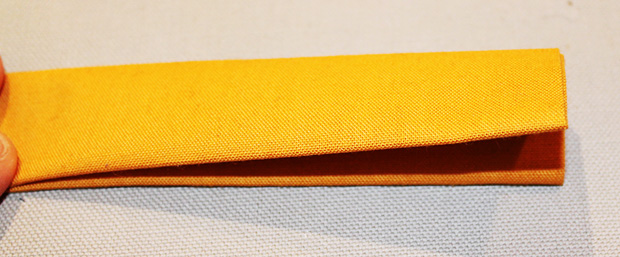
Fold the opposite side in half lengthwise towards the center and press. Fold the the strip on the center crease and press.
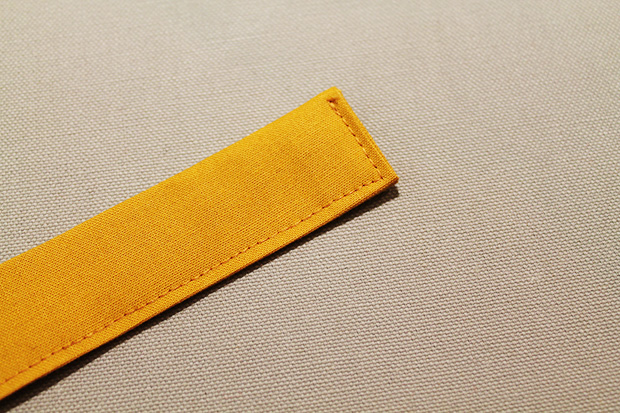
Topstitch along the 3 open sides 1/8 in. from the edge of fabric.
For apron:
Place the 2 apron pieces (A & B) right sides together, making sure to line up all edges. Pin all around.
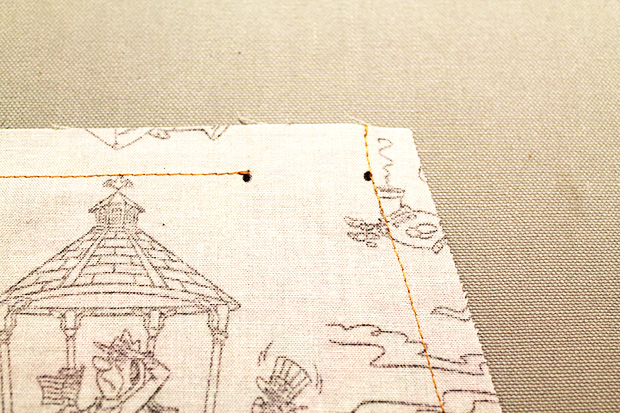
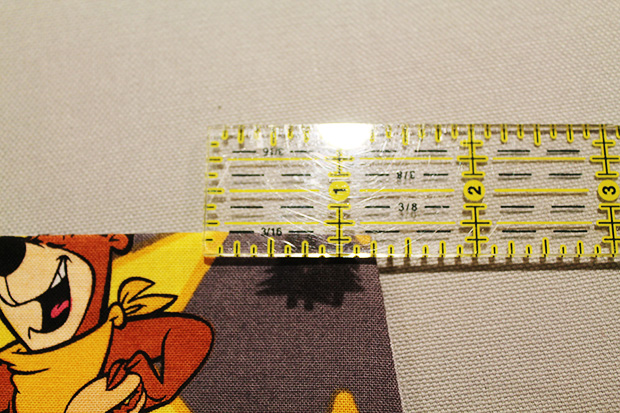
Mark two dots on the four sections of the apron as shown:

– ½” down from the top and ½” in from the side. And again, ½” down from the top, 1¾” in from the side.

Repeat at opposite side.
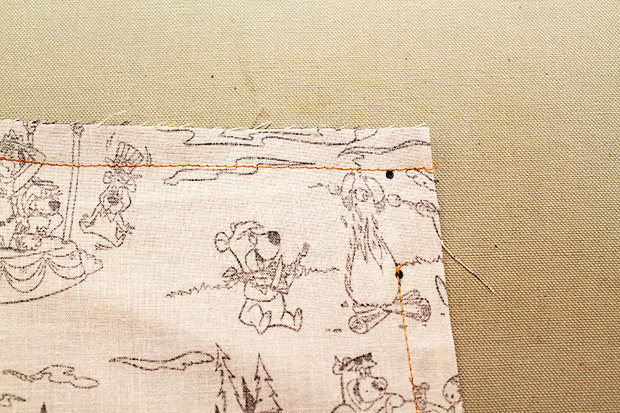
At the sides of the apron:
– ½” from the side, ½” from the top. And again, ½” from the side, 1¾” from the top.
NOTE: you will not be sewing between these dots! They will create the openings for the ties.
With a ½” sewing allowance, sew around the perimeter of the body pieces, making sure to leave a 6” opening at the bottom for turning. Remember, you are not sewing between the dots. Make sure to backstitch at each dot to secure your stitches.
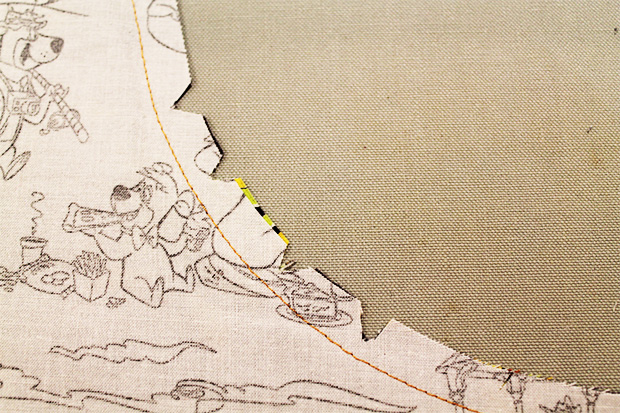
Clip corners and notch your curves as shown.
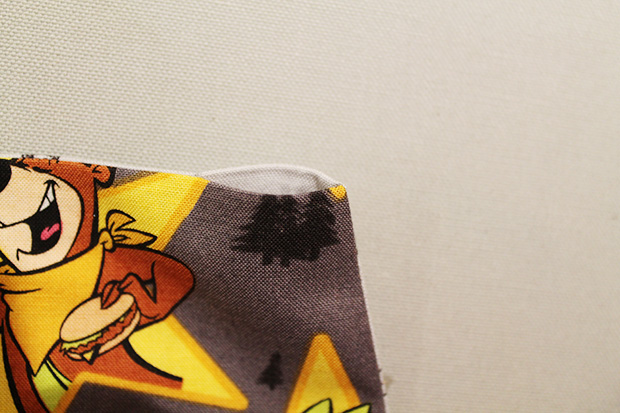
Turn apron right side out and press.
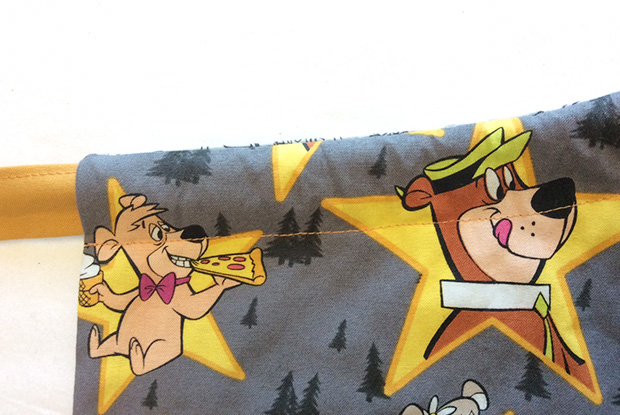
Topstich along the two curved sides of the apron, 1¼” in from the sides. Backstitch at the beginning and end of each stich. This will create the “tube” through which you will draw your apron tie.
Hand sew the opening at the bottom of the apron closed, using a ladder stitch.
Pin a large safety pin to the end of the apron tie. Insert the pin into the tube beginning on one side and draw the tie through, coming out at the top, reinserting at opposite top corner and finally back out the other side of the apron.
Fire up the BBQ and you’re ready for grilling in style!
Happy sewing, everyone!
YOGI BEAR and all related characters and elements © & ™ Hanna-Barbera. (s16)
Comments are closed.