How To’s Day: Basket of Fruit – A Felt & ad-fab™ Tutorial!
July 22nd, 2014 by Camelot Fabrics
Hi everyone!
Happy Tuesday!! This week is our Summer 2014 Collections Launch Week, and we hope you have been enjoying our launched collections thus far. We have been posting a new collection everyday: Monday was our Paddington Bear Collection by the Camelot Design Studio, and today we launched It’s a Bird’s Life by Heather Rosas. Be sure to check out our previous blog posts on them, as well as the full collections and coordinating free projects on our website.
We have been branching into the crafting world, and now have a wonderful collection of felt! We have soft felt (printed and solid designs), hard felt (printed and solid), and adhesive felt (printed and solid) in 12×12″ pre-cuts – perfect for all your crafting and decorative needs. Our soft felt is also available by the yard, both in our printed and solid designs. Be sure to check all of our pretty felt designs and colors on our website!
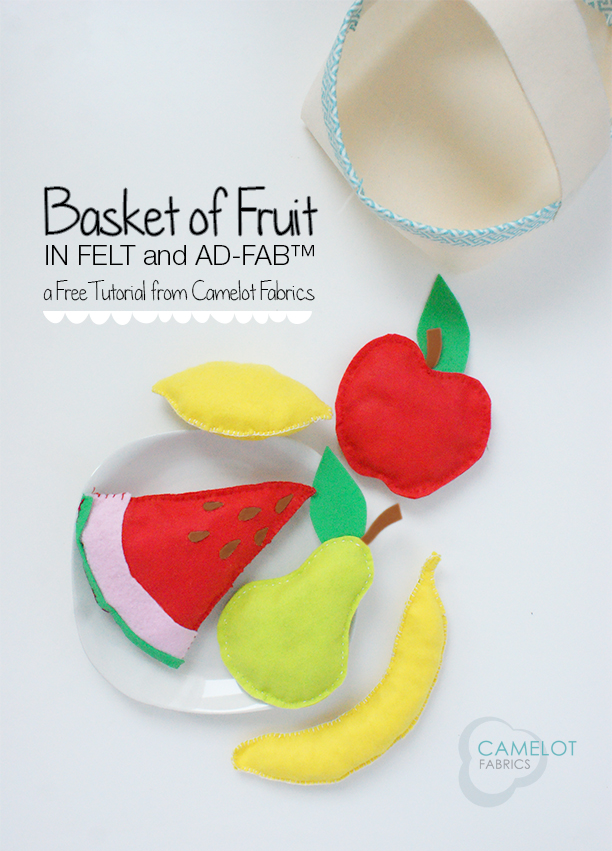
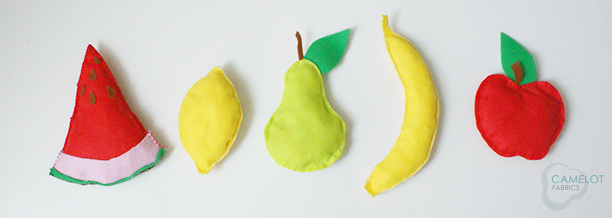
In honor of our felt, we have got a very adorable and fun tutorial for this week’s How To’s Day. Today we are sharing with you our super sweet Basket of Fruits Tutorial. With all the delicious colors found in our felt collection, we were inspired to make something yummy (with names such as Melon, Raspberry, Bubblegum, and Chocolate…how couldn’t we be?). Our little fruit basket includes all of your favorites – a slice of watermelon, a banana, a pear, an apple, and a lemon – so sweet that they look almost good enough to eat.
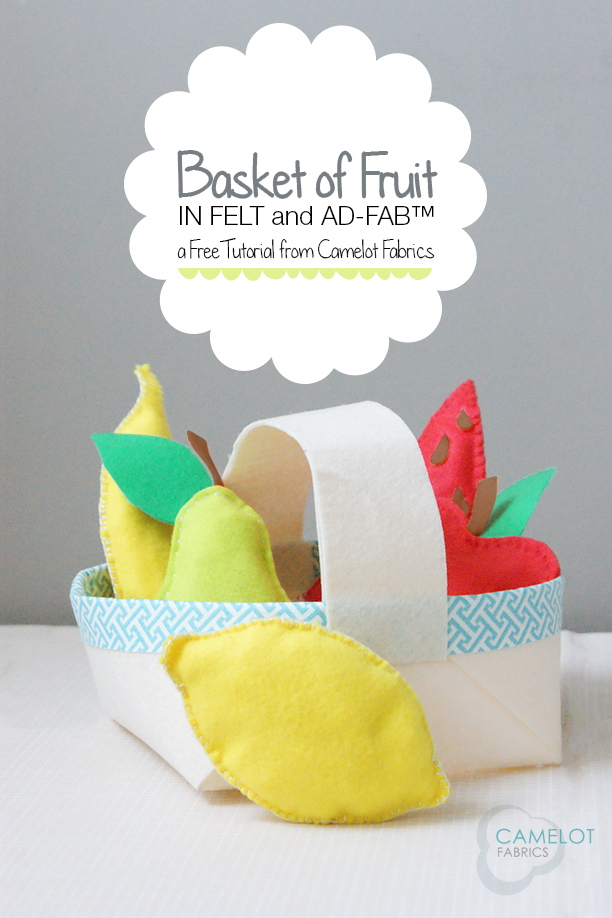
This felt and ad-fab™ project is perfect for playing with your little ones or for decorating a kitschy room. This would also be a great project to make with little kids; let them choose their favorite fruits and they can help cut out the shapes and glue on the pieces! It would be a fun way to spend an afternoon together. The fruit possibilities are endless, so have fun with this tutorial, and make your very own basket of yummy fruits!
Ready for some more deliciousness? Click MORE to see the full tutorial on how to make your own felt and ad-fab™ Basket of Fruit!
BASKET OF FRUIT TUTORIAL
SUPPLIES:
– (1) 12” square of Soft Felt in each of the following Solid colors:
– 88 #06 Lemon
– 88 #09 Bright Red
– 88 #25 Chartreuse
– (1) 12” square of Adhesive Felt in each of the following Solid colors:
– 88 #02 Linen
– 88 #11 Bubblegum
– 88 #24 Vibrant Green
– 88 #05 Chocolate
– (1) 12” square of Hard Felt in 88 #02 Linen
– (1) 12” square of Ad-Fab™ in AF4140307-2 Blue Greek Key
– fiber stuffing or fabric scraps
– paper printer
– basic sewing supplies:
– needle & coordinating embroidery floss
– scissors & fabric shears
– ruler, cutting mat & craft knife
– straight pins
– fabric marker
NOTES:
1. Whenever the directions call for one piece of Felt or Ad-Fab™ to be stuck to another, this can be done simply be peeling away the Ad-Fab™ or Felt’s paper backing and using its own adhesive to make the join.
2. The Fruits are sewn with their Right Sides outward, so that your hand-stitched seams and color-coordinated embroidery floss become part of the final design.
CUTTING:
1. Print the Fruit templates PDF at 100% scale & cut out the pieces.
2. Trace each fruit pattern piece onto a folded double-layer of Soft or Adhesive Felt, as directed on the pattern template. Cut out these pieces in Felt.
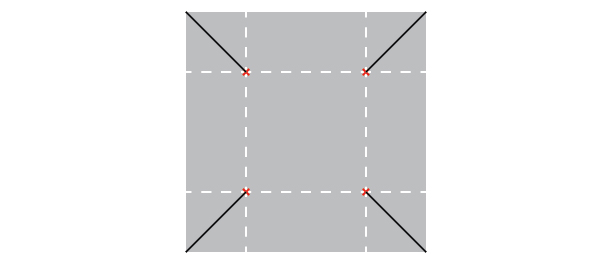
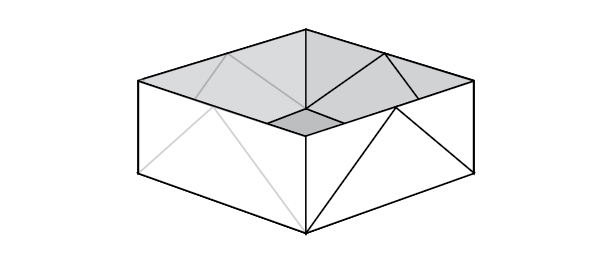
3. Fold the top & bottom edges of your Linen Hard Felt so that they meet in the middle of the sheet. Finger press the creases & open the fold. Rotate your sheet of Adhesive Felt 90˚ and repeat this step, to form (2) pairs of paralled crease lines. Mark (4) points as shown, where the creases intersect.

4. Cut a diagonal line from each marked point to its nearest corner as shown.
5. Cut (2) 2” x 12” strips from your Linen Adhesive Felt.
6. Cut (2) 2” x 12” strips from your Ad-Fab™.
MAKING THE BASKET:
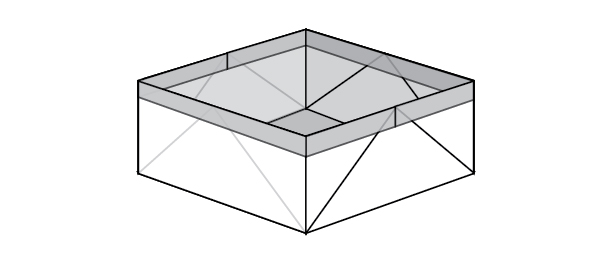
1. Fold up the sides of the Hard Felt square so that the corners overlap as shown. The tabs on (2) opposing sides should sit toward the outside of the Basket, and the tabs of the other (2) sides should be toward the inside of the Basket.
2. Secure the folds by wrapping the top edges of the Basket with your strips of Ad-Fab™ as shown, beginning & ending each strip at the meeting point of the outside Basket tabs.
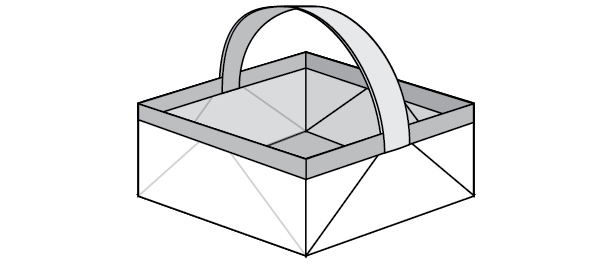
3. Make the Basket’s Handle by sticking the (2) strips of Linen Adhesive Felt together, but leave 1” at either end unstuck.
4. Stick the ends of the Handle to the top edges of the Basket, overlapping the Ad-Fab™ joints as shown. The inner Handle piece should be stuck to the inside of the Basket, and the outer Handle piece is stuck to the outside of the Basket.
MAKING THE FRUIT:
WATERMELON:
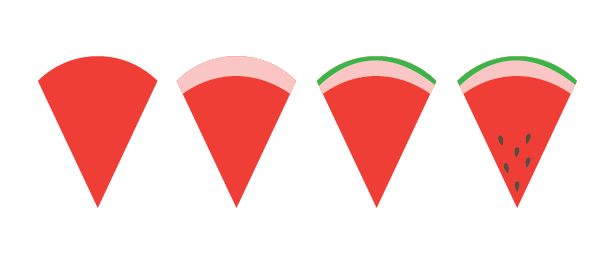
1. Stick each Watermelon Rind piece to a Watermelon Main piece as shown.
2. Stick a Watermelon Skin piece to each Rind piece, to make a 3-layer Watermelon slice.
3. Stick (6) Watermelon Seeds to each Watermelon Main piece, more or less at random, with their pointed ends aimed toward the point of the Watermelon slice.
4. Sew the (2) completed sides of the Watermelon, Wrong Sides facing, using red embroidery floss and a blanket stitch. Leave a 3”- 4” gap along one straight edge for stuffing.
5. Stuff the Watermelon slice with fibre filling or fabric scraps and sew the gap closed.
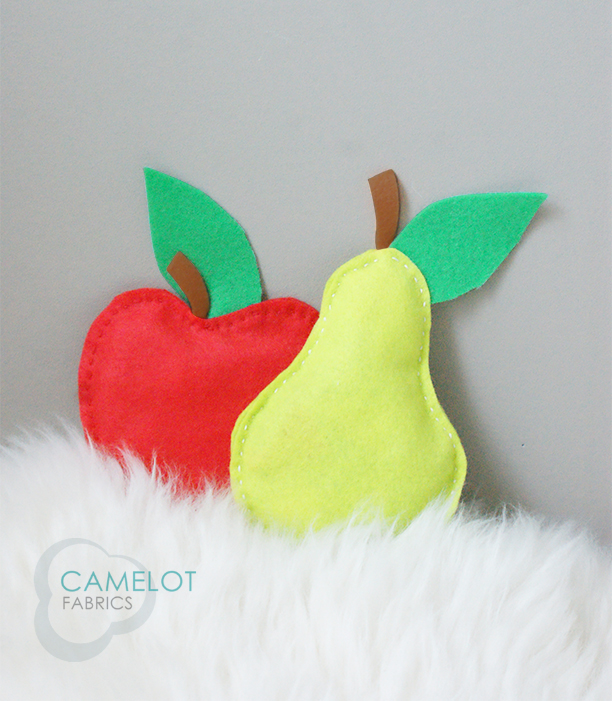
APPLE & PEAR:
1. Stick each pair of Leaves & Stems together, and trim their edges.
2. Sew the (2) sides of each fruit, Wrong Sides together, with (1) Leaf & (1) Stem inserted between the sides of the fruit as shown. Remember to leave a gap for stuffing! We used a running stitch for these (2) fruits.
3. Stuff the Pear & Apple and stitch the gaps closed.
BANANA & LEMON:
1. Sew the (2) sides of each fruit together and sew around their edges with a blanket stitch, leaving a gap for stuffing.

2. Stuff the Lemon & Banana and stitch the gaps closed.
We hope you have enjoyed this week’s How To’s Day! Let us know what your favorite fruit is! If you decide to give this tutorial a try, or any of our free projects, we would love to see – you can send your pictures to info@camelotfabrics.com. Have a great day, everyone! :)
Happy Sewing!
Comments are closed.